
Turning a stack of paper into a clean, digital PDF isn't the chore it used to be. It's actually the first real step toward a paperless workflow. Whether you’re using a traditional scanner, your phone, or a quick online tool, converting physical documents into a versatile format makes them easier to store, share, and manage.
From Paper Stacks to Perfect PDFs
Let's be honest, nobody likes dealing with piles of paper. Learning how to convert a scanned document into a PDF is a game-changer for managing invoices, submitting schoolwork, or just organizing personal records like tax forms and medical bills. The goal isn’t just to snap a picture of the paper; it’s to create a digital file that actually works for you.
A well-made PDF is so much more than an image. It can be:
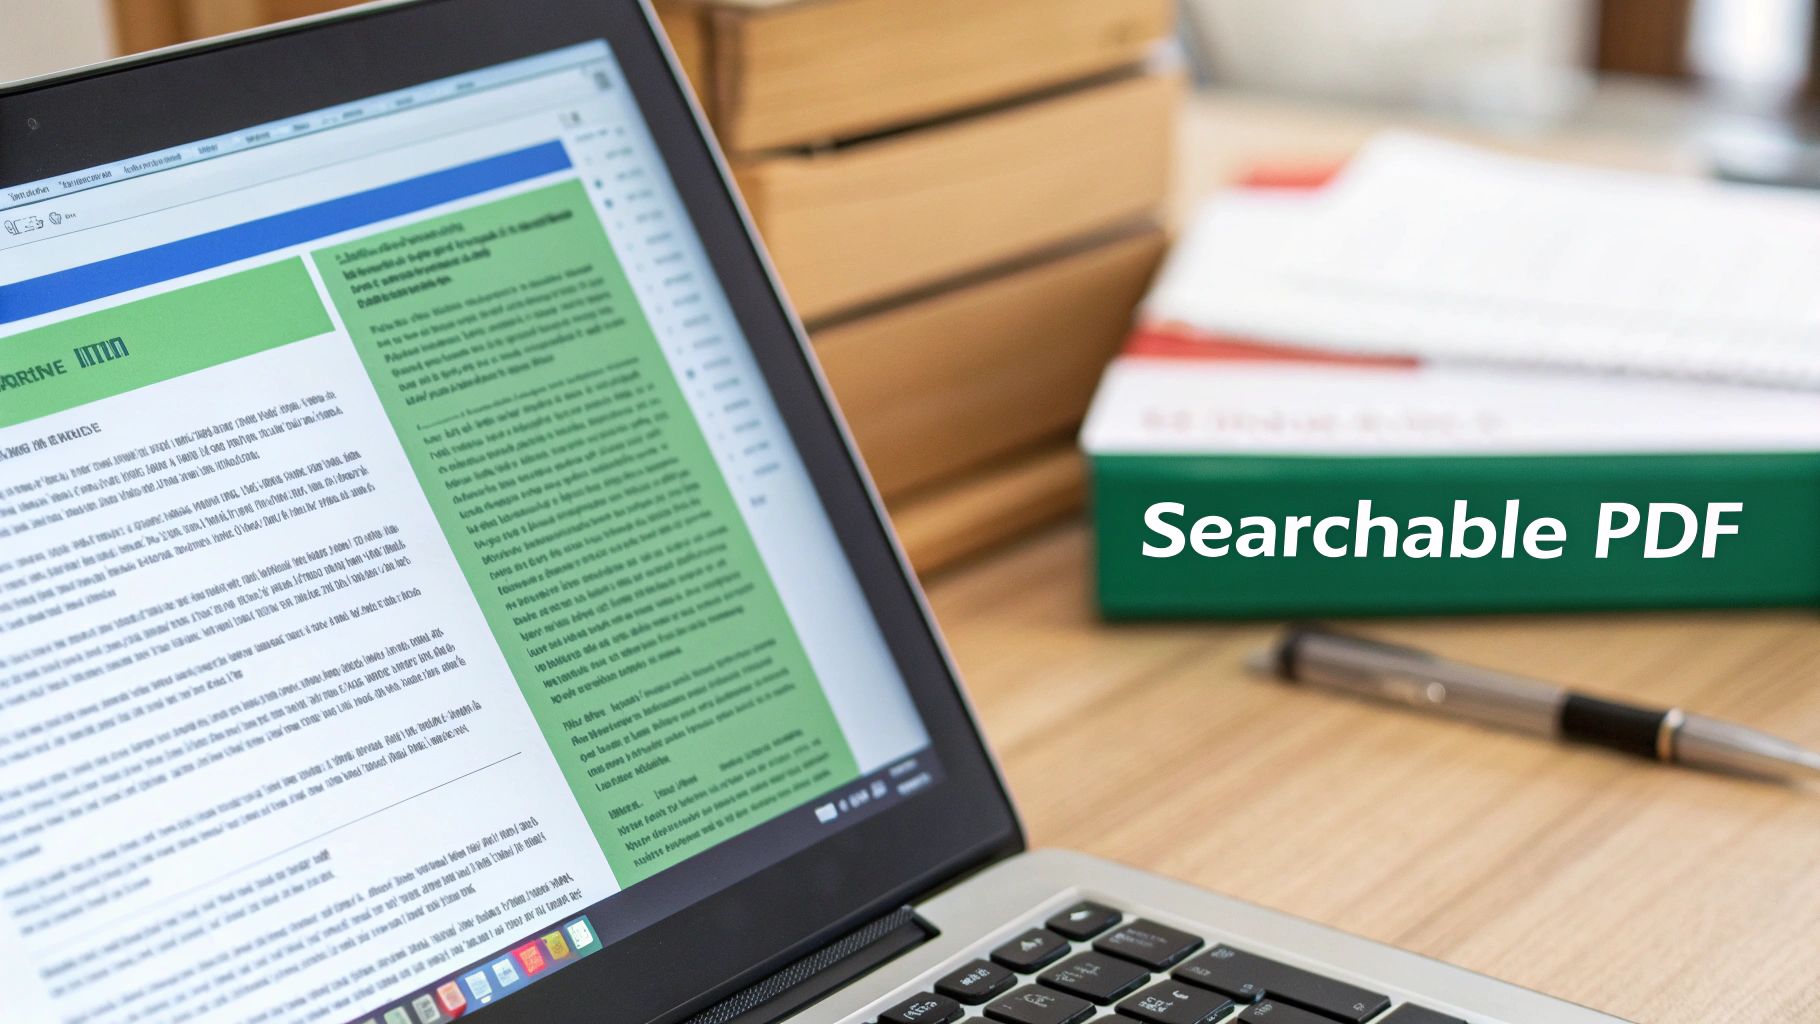
- Searchable: Instantly find a specific name, number, or phrase.
- Secure: Protect your sensitive information with a password.
- Compact: Shrink down the file size so it’s easy to email.
- Accessible: Open and view it on any computer, tablet, or phone.
This guide will cut through the common frustrations—blurry text, crooked pages, and giant file sizes. We'll walk through the three most common and effective ways to get the job done, so you can find a method that fits what you have on hand, whether it's a professional scanner or just the phone in your pocket.
Choosing Your Scan-to-PDF Workflow
The right tool usually comes down to two things: what you have available and the quality you need. This decision tree lays out the three main paths for turning a physical document into a PDF.
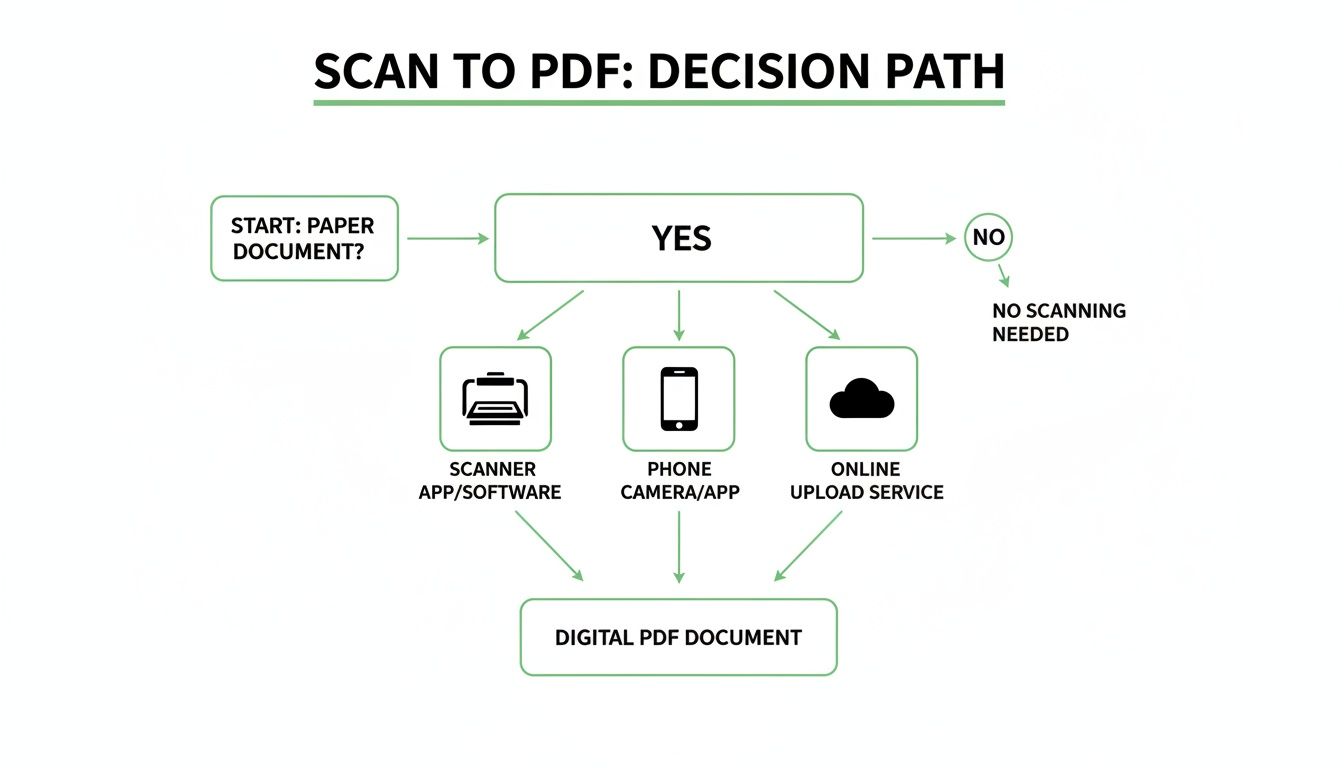
The best part? You don't need expensive equipment anymore. Modern solutions give you great results even from everyday devices. Each path—a dedicated scanner, your phone, or an online tool—has its own pros and cons, perfect for different situations from high-volume office jobs to a last-minute scan on the go.
To make it even simpler, here's a quick breakdown to help you pick the right method for your task.
Choosing Your Best Scan-to-PDF Method
| Method | Best For | Key Advantage | Potential Drawback |
|---|---|---|---|
| Flatbed/ADF Scanner | High-volume, multi-page documents (contracts, archives). | Unbeatable quality and consistency. | Requires dedicated hardware and can be slow for single pages. |
| Mobile Phone/Tablet | Quick, on-the-go scans (receipts, forms, whiteboard notes). | Extremely convenient; no extra hardware needed. | Quality depends heavily on lighting and a steady hand. |
| Built-in OS Tools | Basic, occasional scanning on your computer (Windows/Mac). | Free and already installed on your device. | Often has limited features (no OCR, basic editing). |
| Browser-Based Tools | Converting existing scan files (JPG, PNG) to PDF. | Fast, accessible from anywhere, with extra tools. | Requires an internet connection and uploading your files. |
Ultimately, the best method is the one that gets the job done quickly and easily for you. Don't be afraid to mix and match—maybe you scan with your phone but use an online tool to combine and compress the final PDF.
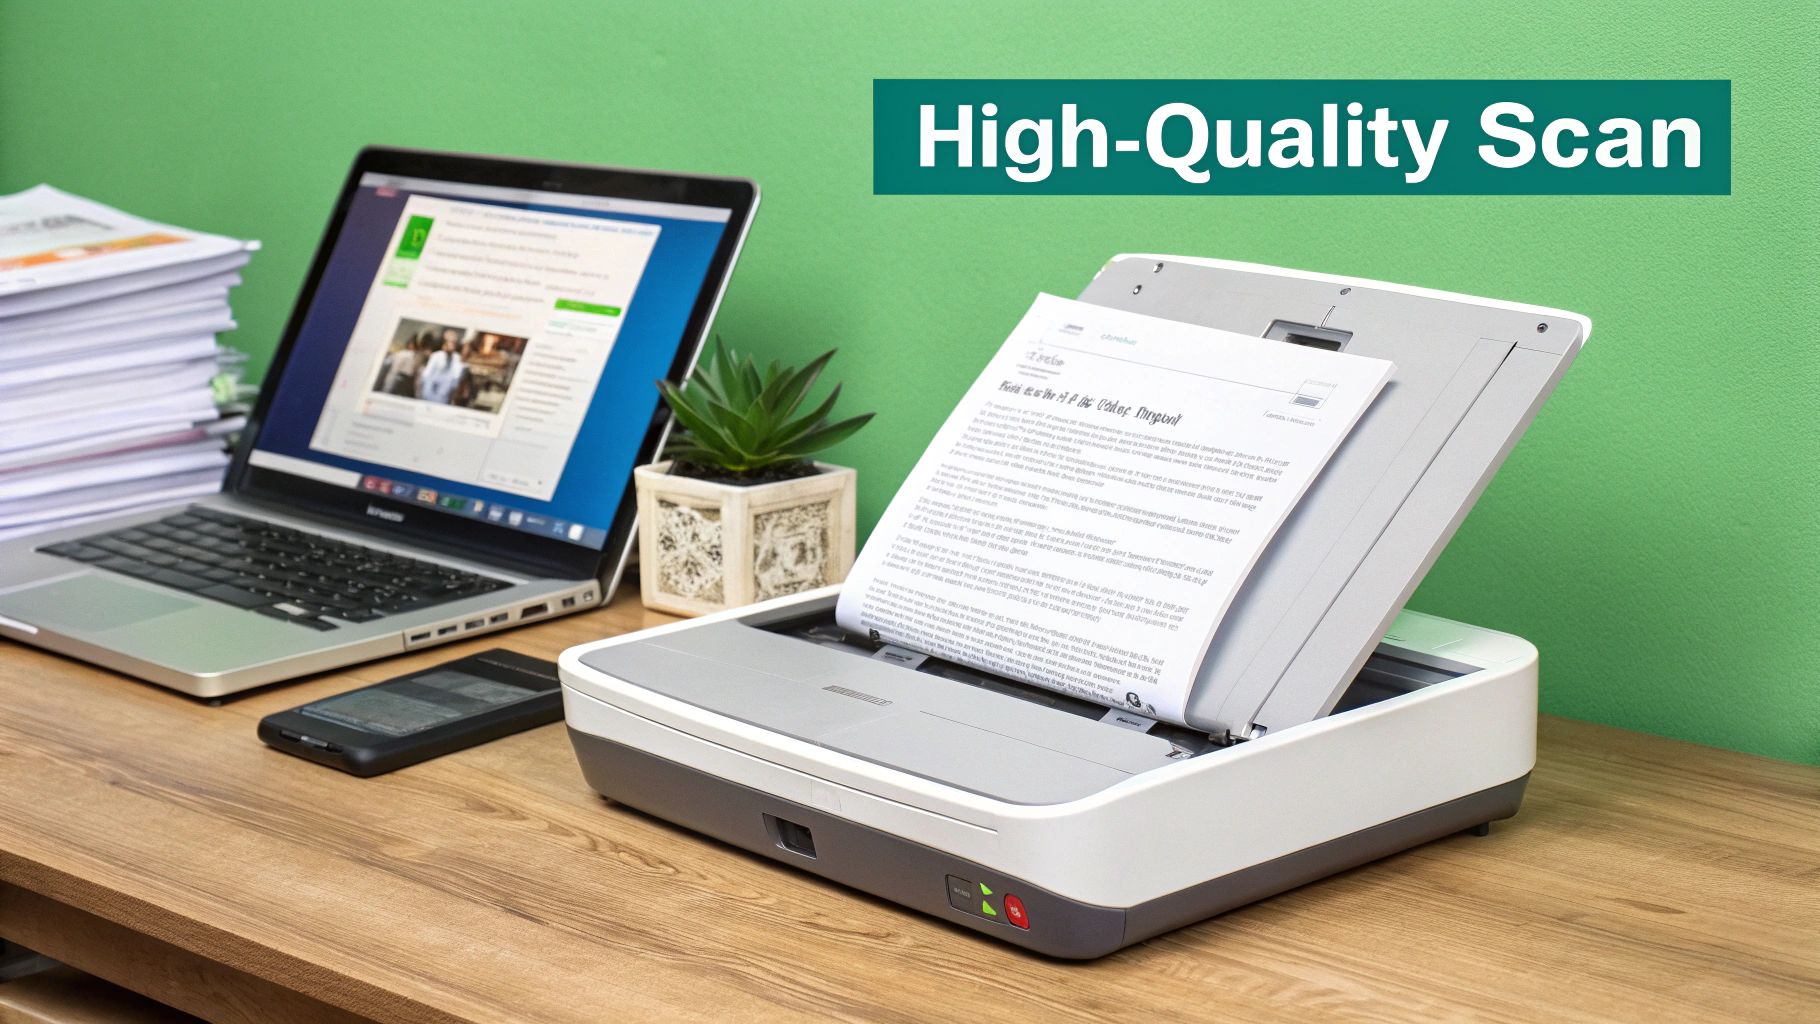
Using a Traditional Scanner for Top-Notch Quality
When you absolutely need the best possible quality for your digital documents, nothing beats a dedicated scanner. Whether it's a flatbed scanner for single pages or an Automatic Document Feeder (ADF) for a whole stack, these devices are the workhorses of digitization. They're built to give you crisp, clean, and consistent results—perfect for everything from archiving important records to scanning multi-page contracts.
Unlike snapping a quick picture with your phone, a real scanner gives you precise control over the final PDF. This control is your secret weapon for creating professional-grade files that are easy to read and manage. Getting it right starts with understanding a few core settings before you hit the scan button.
Dialing in Your Scanner Settings
The secret to a great scan isn't in the hardware itself, but in the software settings you choose. Most scanner software throws a bunch of options at you, but only a few really matter for the final quality of your PDF.
Here’s what to focus on:
- Resolution (DPI): This is all about clarity. For standard text documents like invoices or letters, 300 DPI (Dots Per Inch) is the gold standard. It gives you excellent readability without making the file huge. If you’re scanning something with fine print, detailed graphics, or photos, bump it up to 600 DPI to capture every little detail.
- File Format: Before it becomes a PDF, your scanner saves the image as a JPG, TIFF, or PNG. A TIFF file is "lossless," meaning it keeps all the original quality—a great choice for archival purposes. A JPG is smaller but might lose a tiny bit of quality, which is usually fine for everyday documents.
- Color Mode: You’ll almost always see options for Black & White, Grayscale, and Color. For documents with only text, Black & White creates the smallest and cleanest file. Grayscale is better for documents with signatures or shaded areas, while Color is a must for anything with logos or photos.
Pro Tip: If you're using an Automatic Document Feeder (ADF) for a big job, always scan just one test page first. This quick check ensures the pages are feeding straight and your settings are producing a clear result before you commit to scanning a 50-page report.
Using the Built-In Tools on Windows and macOS
You don't always need to buy fancy software to turn a scan into a PDF. Both Windows and macOS come with free, capable apps that get the job done for most common tasks.
On a Windows PC, the "Scan" app is your go-to. Just search for it in the Start Menu, and it will automatically detect your connected scanner. From there, you can choose your source (flatbed or feeder), select your file type (it can save directly as a PDF), and tweak basic settings like resolution and color. It's clean and simple.
For Mac users, the tool is called "Image Capture," and it's tucked away in your Applications folder. Don't let its simple look fool you—it's surprisingly powerful. Image Capture gives you detailed control, letting you pick the format, resolution, and even the folder where your scan will land. Its best feature? The ability to automatically combine multiple scans into one PDF. Just check the "Combine into single document" box, and it will turn that stack of pages on your flatbed into a single, organized file.
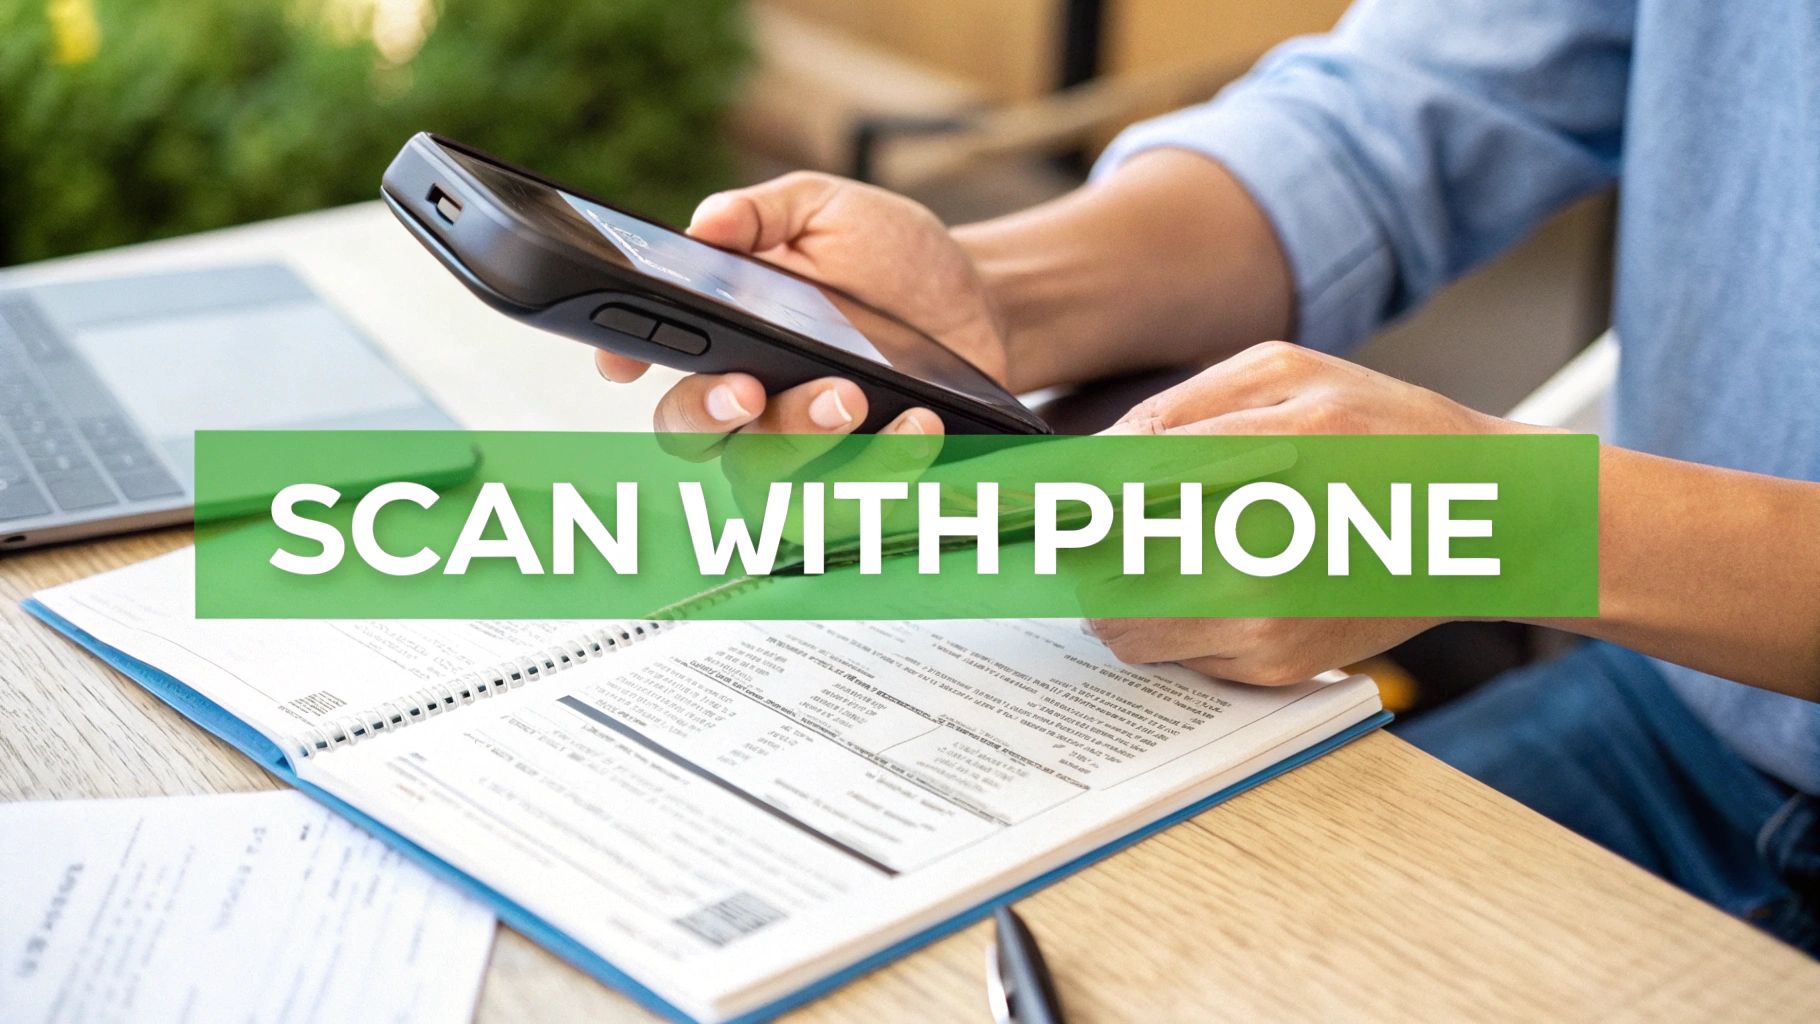
Turning Your Smartphone Into a Pocket Scanner
Forget bulky hardware—the best scanner you own is probably already in your pocket. Your smartphone’s camera is a powerhouse, perfect for digitizing documents when you’re out of the office or just don’t have a traditional scanner handy.
Think about it: you can capture receipts at a conference, snap a picture of a signed contract on the spot, or turn handwritten notes into a shareable file for class. Your phone handles it all.
The trick is to stop thinking like you're taking a photo and start thinking like you're making a scan. Modern phone software is smart enough to find the document's edges, fix skewed angles, and boost the text for clarity. This process, often called document detection, is what turns a simple picture into a professional-looking scan.
Mastering Your Mobile Scanning Technique
Getting a crisp, clean scan with your phone is all about controlling the environment. A few quick adjustments can prevent the common headaches—shadows, glare, and warped text—that make a scan look amateurish.
Before you even open an app, nail these three things:
- Lighting is Everything: Find a well-lit spot with even, indirect light. Never use your phone's flash; it just creates a harsh glare right in the middle of the page. A nearby window or a bright overhead room light works best.
- Get Directly Above: Hold your phone parallel to the document. I find it helps to stand up and position the camera right over the center of the page. This prevents that weird perspective distortion where text at the top looks smaller than the bottom.
- Steady Your Hand: A tiny bit of movement can create blurry text. Use both hands to hold your phone steady, take a breath, and then tap the button.
Honestly, capturing a high-quality image upfront is the most critical step. No software can magically fix a blurry, shadowy mess. A little extra care here saves a ton of frustration later.
Using Your Phone’s Built-In Scanning Tools
You probably don’t even need a third-party app. Powerful scanning tools are already built right into your phone, and they’re designed to be fast and convenient.
For iPhone and iPad Users
The scanner is cleverly tucked away inside the Notes app. Just create a new note, tap the camera icon, and choose "Scan Documents." Your camera will open and automatically hunt for the document in the frame. Once it finds the page, it snaps the picture for you. You can keep scanning multiple pages, and the app bundles them into a single, clean PDF you can share or save.
For Android Users
The Google Drive app is your go-to. Open the app, tap the big "+" button, and select "Scan." It works just like the iOS feature, opening your camera and helping you line up the shot. After you capture the image, you can crop it, tweak the colors, and add more pages before saving the whole thing as one PDF right in your Drive.
Once your images are captured, you might need to combine them with other scans or photos. For situations like that, a dedicated tool can really help. You can easily convert your collected images into a single PDF to create a polished, final document.
The Fastest Way to Convert Scans Online
Sometimes you just need a PDF, and you need it now. You don't have time to download software, fiddle with scanner settings, or call IT. For those moments, a browser-based tool is your best friend for turning scanned images into a professional PDF in seconds.
This is my go-to solution when I'm away from my main computer or need to combine files from different sources on the fly. It's all about speed and simplicity. Instead of navigating a clunky program, you can convert a scanned document into a PDF with just a few clicks. The whole thing happens in your web browser, so it works on any device—your laptop, a library computer, or even a tablet.
How Online Conversion Works
The beauty of an online converter is its dead-simple workflow. You’ve already captured your document as an image file, maybe a JPG from your phone or a PNG from a flatbed scanner. The hard part is over. Now, you just need to bundle it into a final PDF.
For example, a tool like PDFPenguin’s Image to PDF converter makes this final step effortless. You simply upload your image files, and the tool does all the heavy lifting.
This is the clean, drag-and-drop interface of the PDFPenguin tool.
As you can see, it's designed for speed. You can add your files, see a quick preview, and create your document without any fuss.
The Key Advantages of Browser-Based Tools
Jumping online instead of using installed software has some real practical benefits, especially when you're in a hurry. You never have to worry about software updates or whether it's compatible with your operating system.
- Universal Access: Convert files from any device with an internet connection, anywhere you are.
- Zero Installation: Nothing to download, which keeps your computer clean and is perfect for devices where you don't have admin rights.
- Effortless Merging: Easily combine multiple scanned images into a single, multi-page PDF. Just drag and drop the files into the correct order before you hit convert.
Let's say you've scanned a three-page contract as separate JPG files. With an online tool, you can upload all three, arrange them in the proper sequence, and merge them into one organized document in under a minute. It's that fast.
The real power here is that online converters centralize your entire workflow. After turning your scanned images into a PDF, you can immediately do other essential tasks—like compressing the file for email or adding a password—all within the same platform. This saves a ton of time and keeps the process incredibly simple.
Once your PDF is created, you download it directly, ready to be shared or archived. This seamless experience makes online converters an invaluable tool for anyone who deals with digital documents.
Making Your Scanned PDFs Searchable with OCR
A standard scan is really just a picture of your document. Your computer sees an image, not words, which is why you can't search for text, copy a sentence, or click a link. This is where Optical Character Recognition (OCR) completely changes the game.
It’s the magic that transforms a flat, dead image into a fully interactive, searchable file.
Think of OCR as a digital translator. It reads the shapes of letters in your scanned image and converts them into actual text. Suddenly, that 50-page scanned contract isn't a static picture anymore; it's a living document where you can hit Ctrl+F (or Cmd+F) to instantly find a specific name or clause.
This isn't just a "nice-to-have" feature anymore; it's a business essential. While OCR adoption jumped roughly 45% by 2025 compared to 2020, about one-third of scanned PDFs are still left non-searchable. That's a huge missed opportunity, especially when automation can extract data up to 10× faster than doing it by hand.
How to Apply OCR to Your Scans
The good news is, you don’t need to be a tech wizard to make your documents smarter. Many modern tools have OCR built right in, making the whole process incredibly simple.
Here’s where you’ll usually find the option:
- During the Scan: Many scanners and their software include a checkbox like "Make Searchable" or "Apply OCR." Just tick that box, and the software does the work for you as it scans.
- With Desktop Software: Applications like Adobe Acrobat Pro let you open any image-based PDF and run an OCR process on it. This is perfect for upgrading an entire archive of old, non-searchable scans.
- Using Online Tools: Browser-based tools are often the fastest way. For instance, you can use a dedicated online tool to make your existing PDF searchable in just a few clicks. Our guide on how to OCR a PDF provides more details.
The biggest win with an OCR’d PDF is efficiency. Instead of manually skimming dozens of pages for an invoice number or a client’s name, you can find it in seconds. This saves a massive amount of time and cuts down on human error.
Going Beyond Searchability with Your New PDF
Once your document is searchable, you’ve unlocked its full potential. Now you can take a few more quick steps to make it professional and ready for sharing. These finishing touches separate a basic scan from a polished, business-ready document.
Consider adding these final steps to your workflow:
- Merge and Organize: If you scanned pages one by one, combine them into a single, cohesive file. Online tools make it easy to drag and drop pages into the correct order.
- Compress for Sharing: OCR can sometimes make a file a bit larger. Before you email that PDF, run it through a compression tool to shrink it down without losing quality.
- Add Security: For sensitive documents like financial records or client data, adding a password is a crucial final step. This ensures only the right people can open and view it.
Tips for Professional-Quality Scanned PDFs
Anyone can scan a document, but making it look professional takes a little bit of know-how. The small tweaks you make before you hit "scan" can be the difference between a crisp, clear PDF and a blurry, skewed mess that’s too big to email. It’s all about the details.
First, start with the physical document itself. Make sure pages are flat, and remove any staples or paper clips that could cause a jam or a shadow. If you’re using an automatic document feeder (ADF), here's a simple trick I've learned: fan the stack of paper to break up any static. This one move helps prevent pages from sticking together and feeding through as one, saving you the headache of rescanning.
Choose the Right Scan Settings
Don't just hit the big green button and hope for the best. Your scanner's default settings are rarely the right choice. A few seconds spent adjusting them will pay off big time in the final quality and file size.
- Resolution (DPI): For documents that are mostly text—like contracts, letters, or invoices—300 DPI (dots per inch) is the gold standard. It gives you perfectly sharp text that’s great for OCR without making the file huge. If your document has detailed images, diagrams, or tiny fine print, bumping it up to 600 DPI will capture all those details.
- Color Mode: Scanning everything in full color is a common mistake that leads to bloated files. For a standard black-and-white document, choose the Black & White (or Monochrome) setting. You'll get a much smaller, cleaner file. If the document has signatures in blue ink or shaded boxes, switch to Grayscale to preserve them.
Troubleshoot Common Scanning Problems
Even when you do everything right, things can still go wrong. Here’s how to fix the most common issues without pulling your hair out.
The number one complaint I hear is about massive file sizes. You scan a 10-page document and suddenly it's 25 MB—too big to email. This usually happens from accidentally using high-resolution color settings. The good news is you don't have to rescan. After you've created the PDF, you can use a tool to shrink it down. We've put together a full guide on how to compress a PDF that walks you through the best techniques.
Skewed Pages and Blurry Text: If your pages come out crooked, it’s almost always an alignment issue. Make sure you’re using the plastic guides on your scanner bed or in the ADF to hold the paper straight. If the text looks fuzzy or pixelated, the resolution is too low. Just rescan it at a higher DPI setting, and it should clear right up.
These practices aren't just for one-off scans. For businesses that batch-scan thousands of documents, getting this right is critical. Standardizing settings like DPI and contrast is the key to accurate OCR. In fact, companies that feed high-quality scans into their systems report up to 10× faster document processing and see a major drop in manual data-entry errors. You can dig into more of these intelligent document processing findings to see the impact.
Your Top Scanning Questions, Answered
Even when you know the steps, a few tricky questions always pop up when scanning documents. Let's tackle the most common ones so you can get a perfect, professional result every time.
How Can I Make My Scanned PDF Searchable?
Ever scan a document and then realize you can't use Ctrl+F to find anything? That's because a standard scan is just a picture of the page. Your computer sees an image, not words.
To fix this, you need a process called Optical Character Recognition (OCR). Think of it as a smart layer of text that gets added on top of the image. OCR software scans the picture, recognizes the letters and words, and embeds them into the PDF.
Many modern scanners and online tools (like the ones at PDFPenguin) have a simple "Make Searchable" or "Apply OCR" checkbox. Ticking that box is all it takes to turn a static image into a fully searchable, selectable, and copy-paste-friendly document.
What's the Best Resolution for Scanning Documents?
This is a classic question, and the answer is all about balance. The ideal resolution depends on what you're scanning.
Here’s a quick guide I always follow:
- 300 DPI (dots per inch): This is the gold standard for any text-based document. Contracts, invoices, letters—you name it. 300 DPI gives you crystal-clear text that OCR can read easily, without making the file size enormous.
- 400-600 DPI: Bump up the resolution if your document has detailed photos, fine-print footnotes, or complex diagrams. This range captures all the little details you don't want to lose.
Whatever you do, try to avoid scanning below 200 DPI. The text will likely come out blurry and pixelated, making it nearly impossible for OCR software to work its magic.
A common mistake is cranking the resolution up to the max for everything. It seems like a good idea, but all it does is create massive files that are a pain to email and store. Stick to 300 DPI for text—it’s the sweet spot for quality and file size.
How Do I Combine Multiple Scanned Pages Into One PDF?
Nothing is more unprofessional than sending someone five separate PDF files for a five-page document. Luckily, creating a single, multi-page PDF is simple.
If you're using a scanner with an Automatic Document Feeder (ADF), you're all set. Just load your stack of papers, and the scanner's software will almost always have an option to save the entire batch as one file.
Scanning pages one by one on a flatbed scanner or with your phone? No problem. Most scanning software lets you "append" new scans to the file you just created. Alternatively, you can use an online PDF merger tool. Just upload all your individual scans (images or PDFs), drag them into the right order, and combine them into one organized document.
Ready to manage your scanned documents like a pro? The tools at PDFPenguin are designed to make every step simple, from merging pages to compressing files for email. Try our free, browser-based tools today and see how fast your PDF workflow can be. Visit us at https://www.pdfpenguin.net.