Ever tried sending a folder full of images to someone? It’s messy, unprofessional, and frankly, a bit of a headache for the person on the other end. Combining your JPGs into a single, polished PDF is the solution. It brings order to the chaos and creates a professional, secure, and universally accessible document that’s a breeze to share, print, or archive.
Why You Should Convert JPG to a PDF
Juggling multiple images is a pain, whether you’re at work or just trying to organize personal files. Picture an office manager trying to compile dozens of scanned receipts for an expense report. Or a freelance designer sending a multi-page portfolio to a potential client. Emailing each image one by one is slow, and you risk files getting lost or viewed in the wrong order.
This is where converting from jpg to a pdf changes the game. It takes that scattered collection of files and turns it into one cohesive, organized document. It’s not just about bundling files—it’s about presenting your information in a clean, logical way that anyone can open on any device.
The Power of a Unified Document
A single PDF is just so much easier to manage, email, and store than a folder crammed with separate JPGs. It's no wonder the format has become the global standard for sharing documents.
Think about the key benefits:
- Universal Accessibility: PDFs look the same everywhere. Your recipient sees exactly what you intended, no matter their computer, phone, or operating system.
- Professional Presentation: A single, paginated document just looks more put-together than a .zip file full of random image names.
- Enhanced Security: PDFs can be password-protected, and you can often restrict editing or printing, which is a huge plus for sensitive info.
- Print-Ready Format: The format is built for printing, keeping your layout and quality intact without any special software.
The move towards digital-first work only highlights how essential this simple conversion has become. Just look at the explosive growth and adoption of PDFs worldwide.
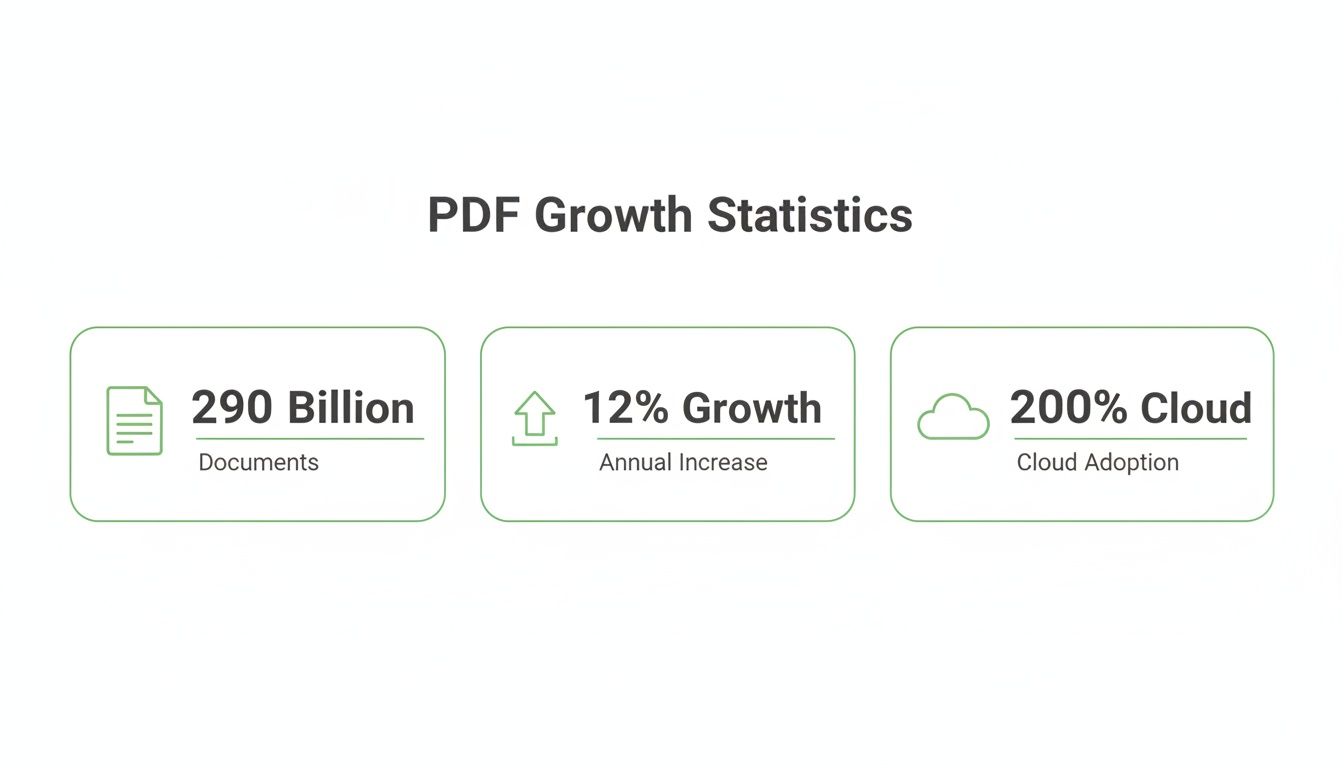
This data shows a clear shift toward streamlined, digital workflows. The web's second-most popular file type after JPEG is PDF, with over 290 billion new PDFs created every year and a 12% annual growth rate since 2020. This makes turning JPGs into PDFs a high-demand, everyday task.
Usage of cloud-based PDF tools has also shot up by 200% since 2020, especially among small businesses and educators who rely on this process for reports, portfolios, and class materials. You can dig into more PDF usage statistics and trends on Smallpdf.com.
A Simple Guide to Online JPG to PDF Conversion
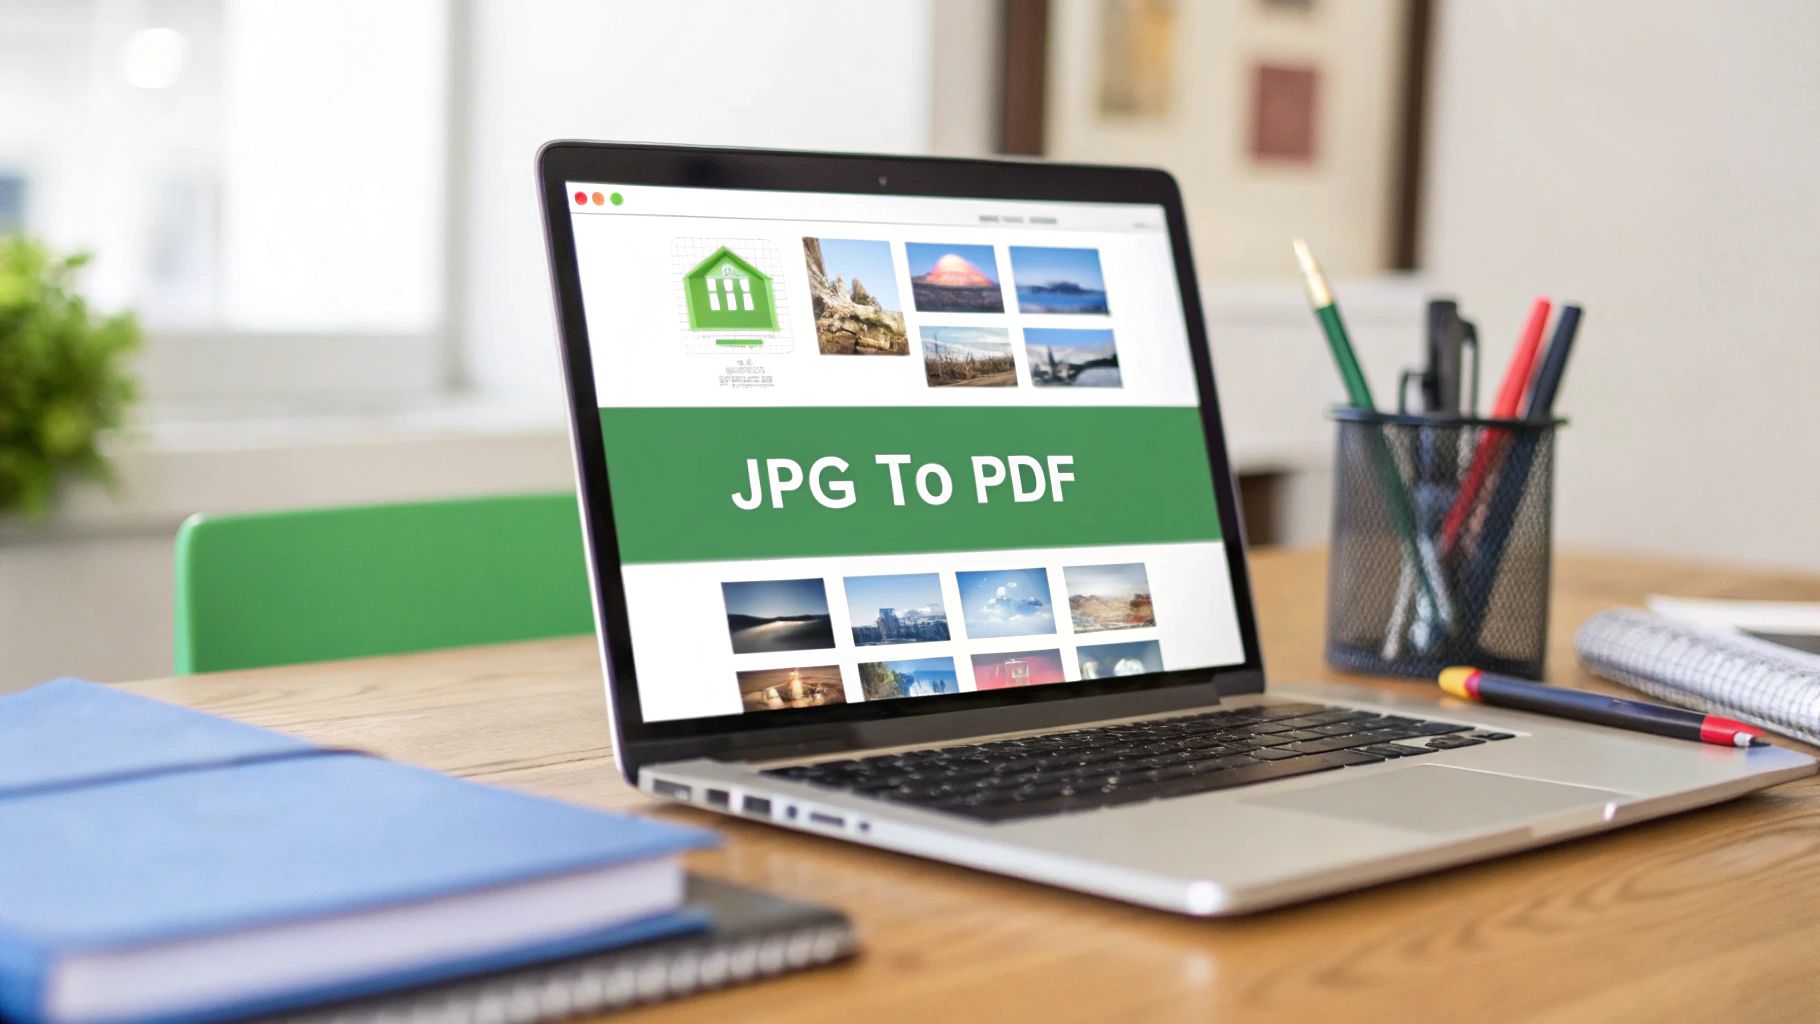
Forget about downloading clunky software just to turn a few images into a PDF. With a browser-based tool like PDFPenguin, you can convert a JPG to a PDF in just a few clicks. The whole process happens right on the website, making it incredibly fast and accessible from any device you own.
First things first, you need to get your images uploaded. You have two easy options: either click the "Upload" button to browse through your computer's folders, or just drag and drop your JPG files straight onto the page. This works perfectly whether you have a single image or a whole batch you need to combine into one document.
If you're curious about other tools out there, a good guide to the best free PDF converter software can give you a solid overview of the current year's top options.
Once your images are uploaded, you'll see thumbnails for each one. This is where you get to organize everything and make it look just right.
Arranging and Customizing Your PDF
This is the part that turns a random collection of images into a coherent document. Think about it: if you're putting together a visual guide or a report where the order matters, you need full control. Simply click and drag each thumbnail to move it into the perfect sequence.
The interface is designed to be super intuitive, so you can easily manage your uploaded files.
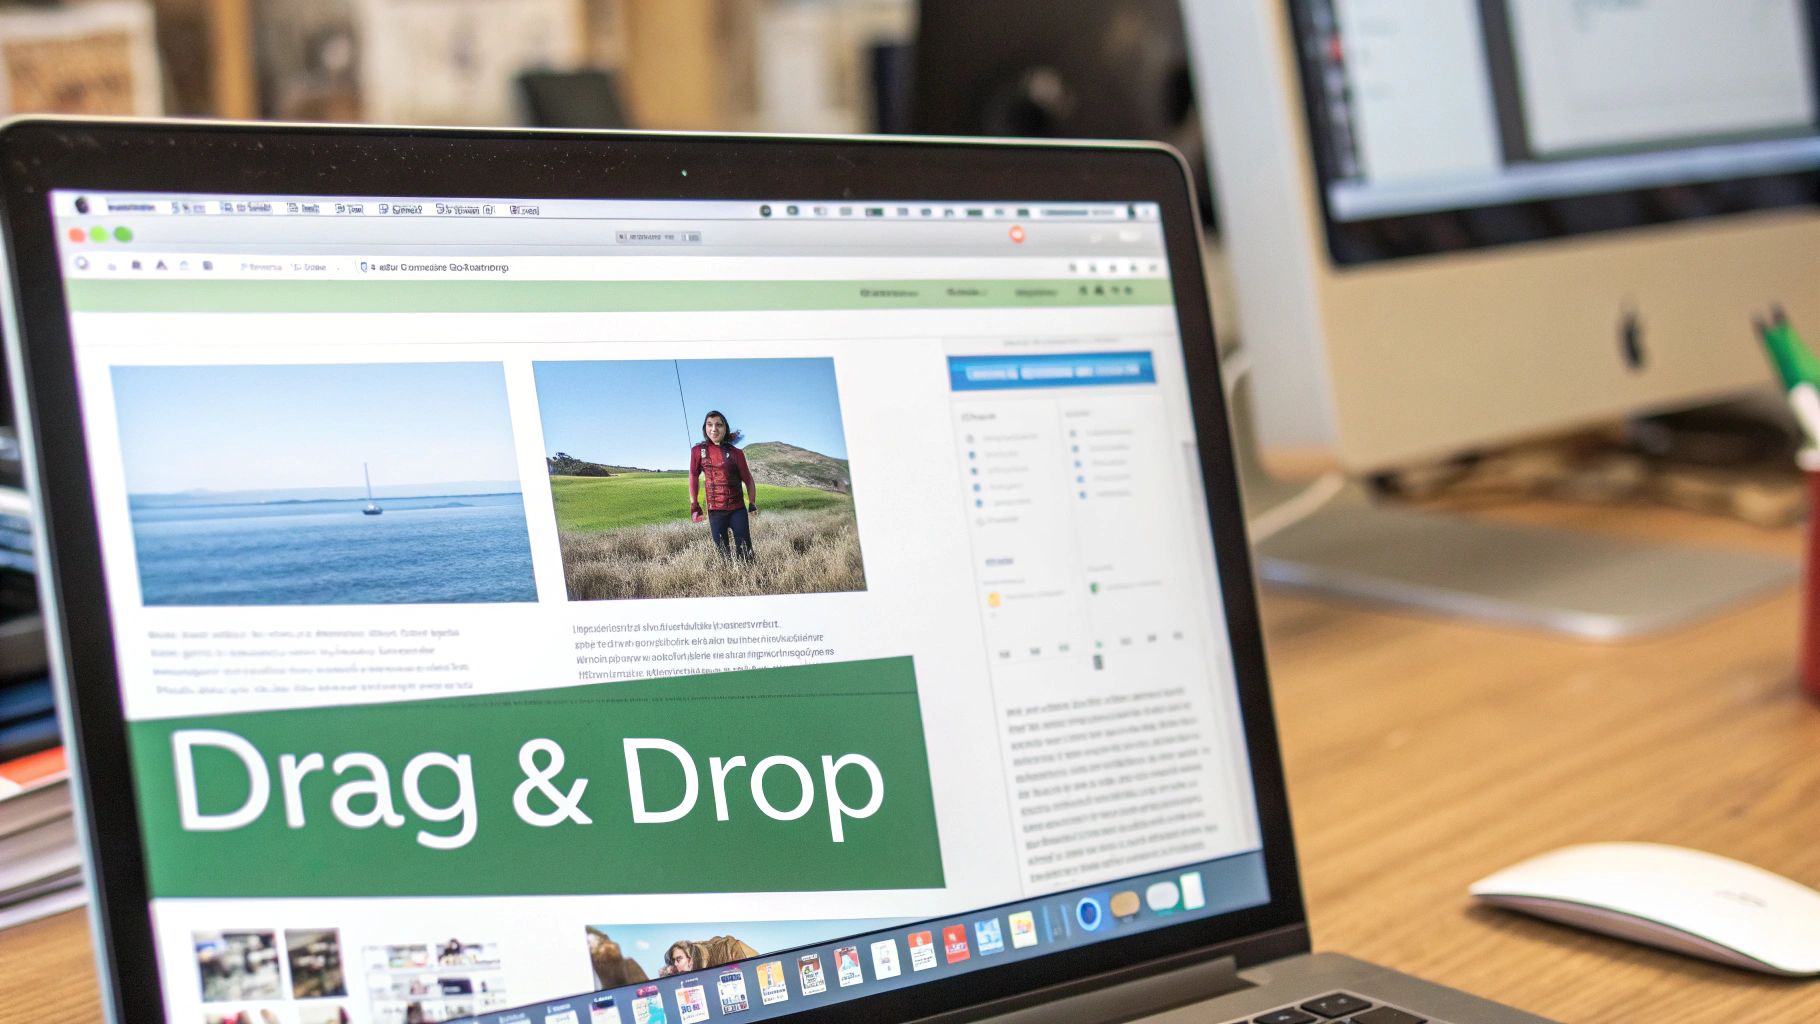
This clean drag-and-drop area lets you get all your pages in the right order before creating the final PDF.
But ordering is just the beginning. You can also fine-tune the final document with a few key settings to make it look professional.
- Page Orientation: Flip between Portrait (vertical) and Landscape (horizontal). This is a lifesaver for wide images like charts or scenic photos that would otherwise get awkwardly cut off.
- Page Size: You can typically choose from standard sizes like A4 or Letter, which ensures your PDF is ready for printing or looks right on any screen.
- Margins: Add small, medium, or large margins around each image. It’s a small touch that gives your document a much cleaner, more polished feel.
These settings are what elevate your file from a simple image dump to a properly formatted document. For a deeper dive into image conversion, our guide on converting images to PDF online for free has even more tips.
Pro Tip: Always take a second to double-check your page order and orientation settings before hitting convert. A quick glance here can save you the headache of having to re-upload and do it all over again because one image was sideways or out of place.
Once you’re happy with the arrangement and settings, just click the "Convert" button. The tool will instantly process your JPGs and bundle them into a single PDF, ready for you to download. The entire workflow, from upload to download, seriously takes less than a minute.
Handling Multiple Images and Organizing Your PDF
Converting a single image is easy, but the real magic happens when you combine multiple JPGs into one cohesive document. This is how you go from a chaotic folder of photos to a professional, multi-page PDF that’s ready to share.
Think about it. An administrator needs to compile dozens of scanned invoices into a single file for accounting. A student has to assemble photos of lab results for a research paper. The demand is massive—in one recent period, over 12 million JPGs were converted to PDF using just one popular online tool. For more on why PDFs are so dominant in business, you can see the latest trends on Adobe.com.
Get Your Files Ready Before You Upload
A little prep work on your computer goes a long way. Before you even open your browser, gather all your images into a single folder. Even better, take a minute to rename them in the order you want them to appear in the final PDF.
A simple naming system like this works wonders:
Report-Image-01.jpgReport-Image-02.jpgReport-Image-03.jpg
This simple trick ensures that when you upload the whole batch, the images are already in the correct sequence. It saves you from the tedious task of manually dragging and dropping each one into place, which is a real lifesaver when you're dealing with ten, twenty, or even a hundred images.
A well-organized digital workspace is an efficient one. Taking a minute to pre-sort and rename your files can save you ten minutes of frustrating re-ordering later. This habit is especially crucial for recurring tasks like monthly reports or client project updates.
Use the Preview to Perfect Your Document
Once you upload your images to a tool like PDFPenguin, you'll see a preview of each page. This is your final chance to make sure everything looks right before you hit "Convert."
The visual check is critical. You can spot an upside-down scan or a misplaced photo before it’s locked into the final document. You can easily drag the thumbnails around to fine-tune the order if something is out of place. Once it looks good, you're ready to create your single, organized file.
And if you ever need to combine existing PDFs later on, our guide on how to merge multiple PDFs into one document can help streamline that workflow, too.
Best Practices for Multi-Image PDF Conversion
Here’s a quick-reference guide to ensure your multi-page PDFs are professional and well-organized every time.
| Best Practice | Why It Matters | Example Scenario |
|---|---|---|
| Pre-sort and Rename | Ensures images upload in the correct order, saving time. | Naming scans Invoice-01, Invoice-02, etc., for an expense report. |
| Check Image Orientation | Prevents sideways or upside-down pages in the final PDF. | Rotating a photo of a whiteboard drawing so it's upright before converting. |
| Use Consistent Sizing | Creates a more professional and readable document. | Cropping all product photos to the same aspect ratio for a catalog. |
| Compress If Necessary | Keeps file sizes small for easy emailing and uploading. | Running a 50-page image-heavy portfolio through a compressor. |
Following these simple steps ensures that the final document you create is not just a collection of images, but a polished, easy-to-navigate file.
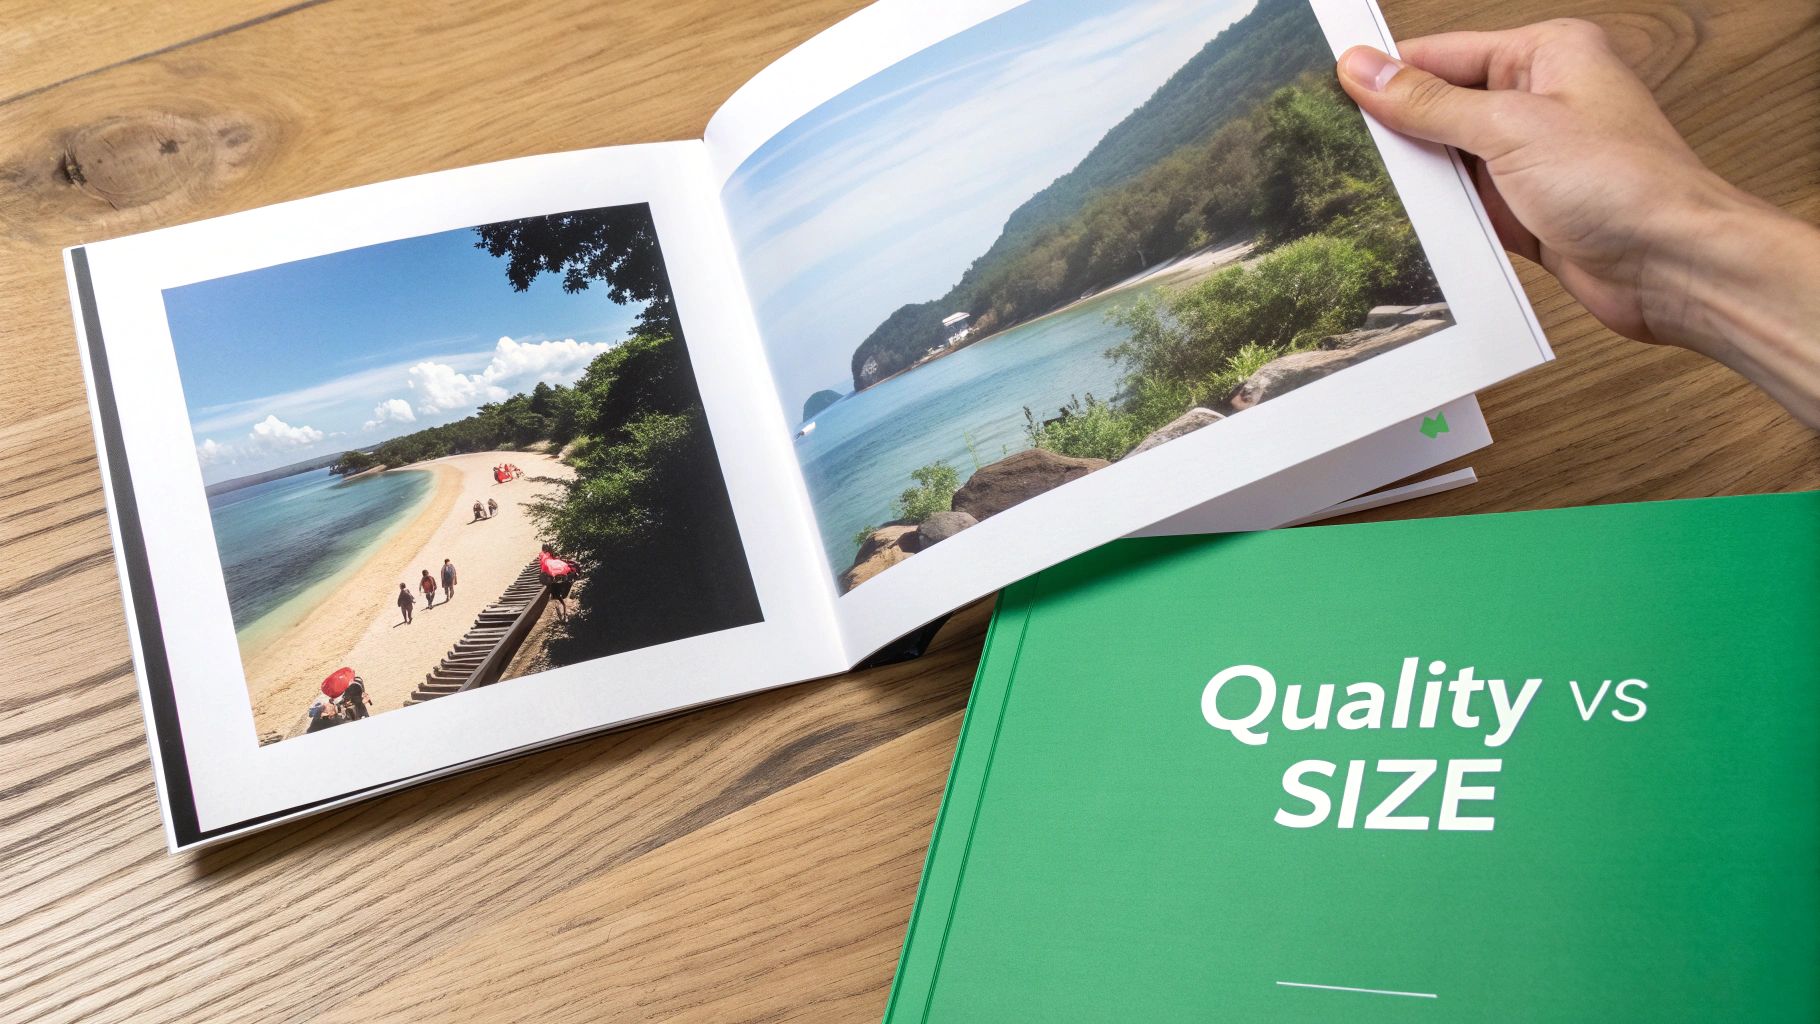
Optimizing Image Quality and File Size
One of the biggest struggles when you convert a JPG to a PDF is hitting that sweet spot between image quality and file size. You don't want a massive file that clogs up an inbox, but you also don't want your images to look like a blurry, pixelated mess.
The trick is to think about what you’ll be using the PDF for. A professional photography portfolio? You’ll want every pixel to be perfect. An internal report with a few screenshots? You can definitely dial down the quality to keep the file size trim. The best online tools give you simple presets to manage this trade-off.
Choosing the Right Compression Level
When you use a tool like PDFPenguin, you’ll usually see a few straightforward options like “Low,” “Medium,” and “High” quality. These are just shortcuts for controlling how much the images get compressed.
- High Quality: Pick this for professional prints, artist portfolios, or any document where visual clarity is non-negotiable. The file will be larger, but your images will stay crisp.
- Medium Quality: This is your go-to for almost everything else—sharing reports, presentations, or school projects. It gives you a great balance, keeping files small without any obvious loss in quality when viewed on a screen.
- Low Quality: Use this when file size is the only thing that matters. It’s perfect for rough drafts, documents with tons of images, or sending something over a weak internet connection.
The entire PDF software market, worth an estimated USD 2.15 billion in 2024, is built around solving these problems. Users need tools for conversion (28% usage) and compression (34% usage) to create documents that are both high-quality and easy to share.
My advice? Start with the medium setting. Download the PDF and give it a quick look. If it's still too big or not sharp enough, just try again with a different setting. This little bit of trial and error takes seconds and ensures you get exactly what you need.
If your PDF is still on the heavy side after converting, don't sweat it. You can always run it through a dedicated tool to compress your PDF even further at https://pdfpenguin.net/compress-pdf.
And for anyone planning to get their PDF professionally printed, learning about setting up print bleed is a must for getting clean, edge-to-edge results.
Staying Secure with Online Conversion Tools
Let's be honest, uploading personal photos or confidential documents to a random website can feel a bit sketchy. When you need to turn a JPG into a PDF online, it’s smart to ask: where are my files really going?
Trustworthy tools like PDFPenguin put privacy first, and they do it with some serious security measures. The most important one to look for is HTTPS encryption. Think of it as a sealed, armored tunnel between your computer and the website's server. It scrambles your files during the transfer, making them completely unreadable to anyone trying to snoop.
How Your Files Are Managed
Good encryption is just the start. Reputable services also have crystal-clear policies about how they handle your files after you've uploaded them. Instead of letting your files sit on their servers forever, they're automatically and permanently wiped after a short time—usually just a few hours.
This isn't some optional feature; it's a core promise. This automatic deletion means your sensitive data, whether it's family photos or a business invoice, isn't just left behind.
Here's a solid rule of thumb: always check for a privacy policy before using any online tool. Legitimate services are upfront about their data handling. They’ll tell you exactly how long they keep your files and what security they use to protect them.
This commitment to security means you can confidently convert your documents without losing sleep over where your data might end up.
Common Questions About Turning JPGs Into PDFs
When you're turning images into a PDF for the first time, a few questions always pop up. Let's tackle the most common ones so you can get the job done without any guesswork.
Can I Combine Multiple JPGs at Once?
You bet. In fact, that’s what modern online tools are built for. You can grab a whole folder of JPGs, upload them all in one go, and merge them into a single, multi-page PDF. The best part? You can drag and drop the thumbnails to get them in the perfect order before you finalize the document. It’s perfect for creating a portfolio or submitting a report.
Will I Lose Image Quality?
Only if you want to. A good converter gives you control over the final output. You can choose a high-quality setting to make sure every pixel is preserved—great for professional printing, though it does create a larger file. On the flip side, you can also select a compressed, lower-quality setting to create a much smaller file that’s easy to email.
Here's a quick security tip: always use tools that offer HTTPS encryption for file transfers. Also, double-check their privacy policy. You want to see that they automatically delete your files from their servers after a few hours, keeping your data safe and private.
Ready to turn those scattered images into a clean, professional PDF? Give PDFPenguin a try and see just how easy it is to convert, merge, and organize your files right in your browser. You can get started for free at https://www.pdfpenguin.net.