Ever found yourself needing to turn a photo into a PDF? It’s a super common task, and you can get it done right from your web browser. Using a free online tool means you can instantly bundle one or more images—like JPEGs, PNGs, or even those HEIC files from your iPhone—into a single, organized PDF. Best of all? No software to download.
Why Bother Converting an Image to a PDF?
You might think of images and PDFs as totally separate things, but merging them solves a ton of practical, everyday headaches. A simple conversion can transform a chaotic folder of pictures into a polished, professional document that’s a breeze to share, archive, and view on any device. It’s a small step that brings a whole lot of order to your digital life.
Real-World Scenarios Where This Is a Lifesaver
Imagine you're a student who just snapped photos of every whiteboard lecture for the big exam. Instead of juggling a dozen JPG files, you can convert image to pdf online free and create a single, scrollable study guide. The pages stay in the order you set, making those late-night review sessions so much simpler.
Professionals run into this all the time. Bundling scanned receipts into one PDF for an expense report is way cleaner than attaching a bunch of image files to an email. Or think of a graphic designer packaging several design mockups into a single PDF portfolio—it ensures their work is presented cohesively, and the layout won’t get messed up no matter who opens it.
The core benefit is control. By converting images to a PDF, you lock in the formatting, page order, and overall presentation, creating a universally accessible and professional-looking document.
The Shift to Digital Workflows
This need for organization is a huge reason why we’re all moving away from paper. The digital document conversion market has exploded, with online tools becoming an essential part of how we work. Platforms see millions of uploads as people ditch clunky, old-school processes.
In fact, roughly 65-70% of office professionals and students now use free online converters instead of traditional desktop software for these kinds of tasks. It just makes sense. You can learn more about these trends over on Adobe's resource page. This reliance on quick, browser-based tools highlights the demand for simple solutions that make everyone's workflow a little smoother.
A Visual Walkthrough: How It Actually Works
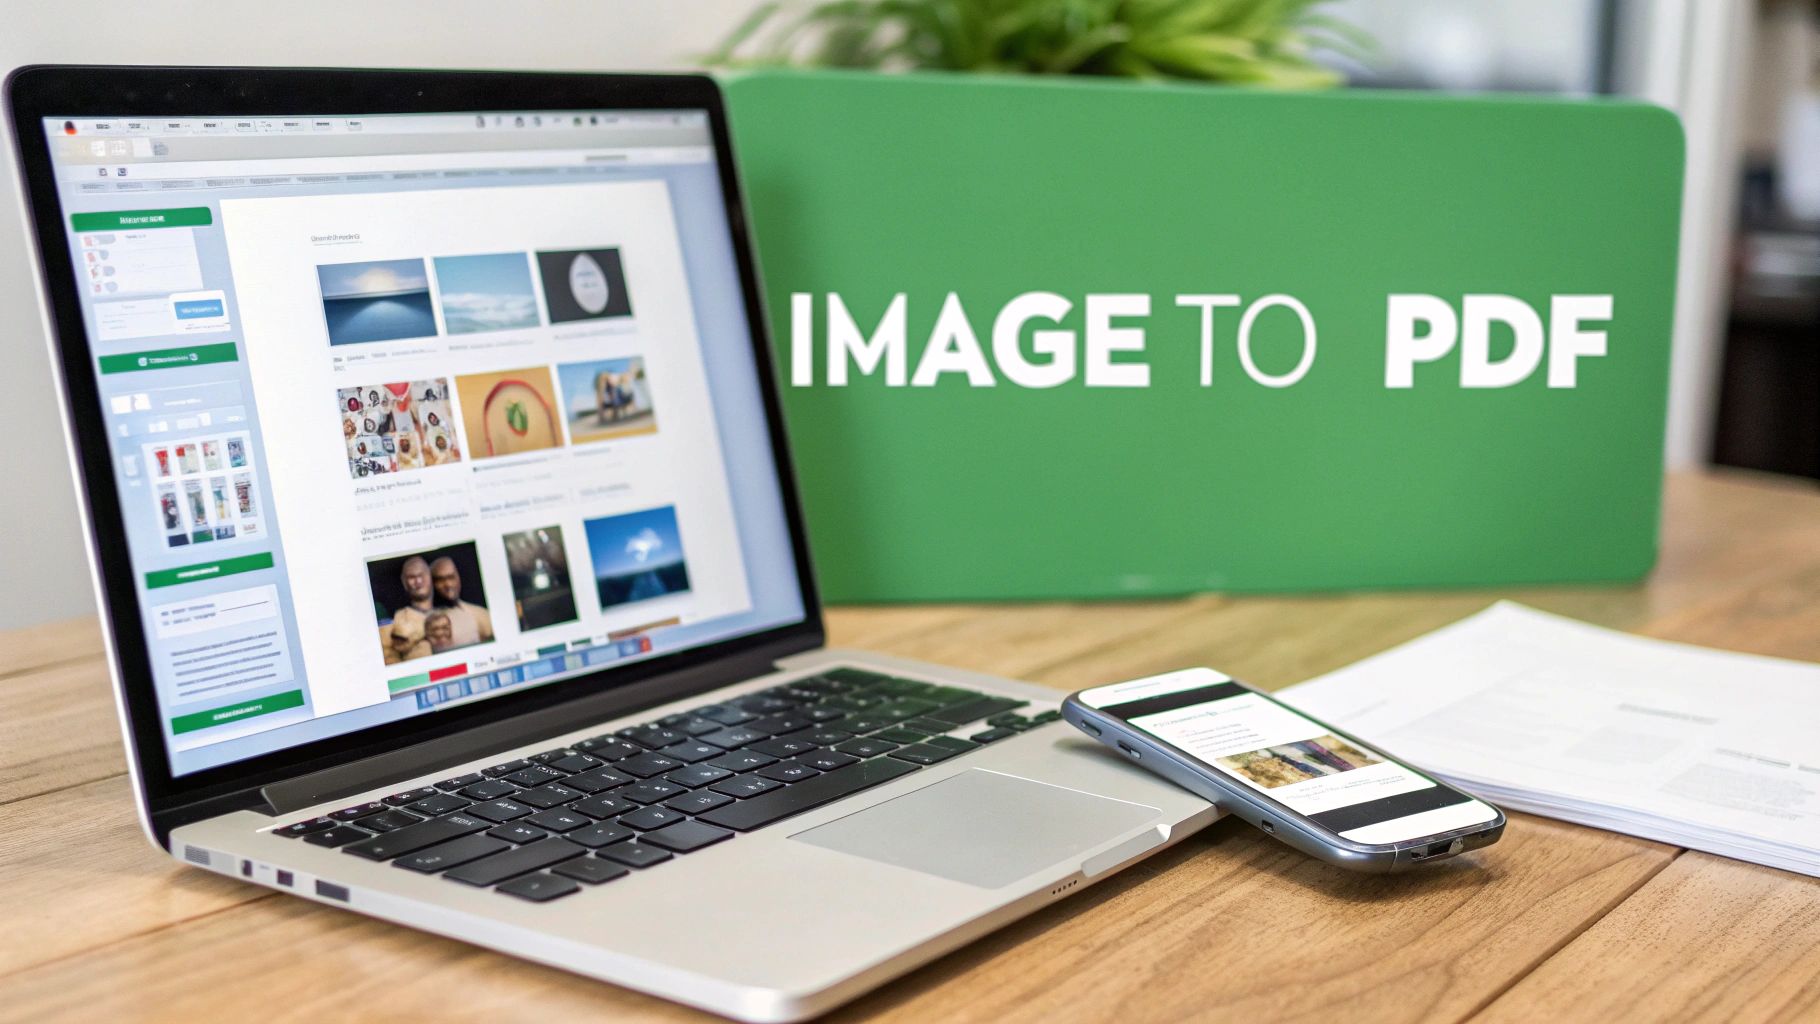
Jumping into a new online tool can feel a bit clunky, but turning a bunch of images into a single PDF is surprisingly quick. Let's walk through it using a clean, browser-based tool like PDFPenguin as our example. You'll see just how fast you can get this done without downloading a single thing.
The whole process happens right in your web browser. No software to install, no accounts to create—perfect for when you just need to get a task done and move on. Most modern converters greet you with a simple, clean interface.
As you can see, you start with a big, clear area prompting you to either grab files from your computer or just drag them right onto the page.
Getting Your Images Uploaded
First things first, you need to get your image files into the converter. You’ve got a couple of easy options here, built to match whatever workflow feels most natural to you.
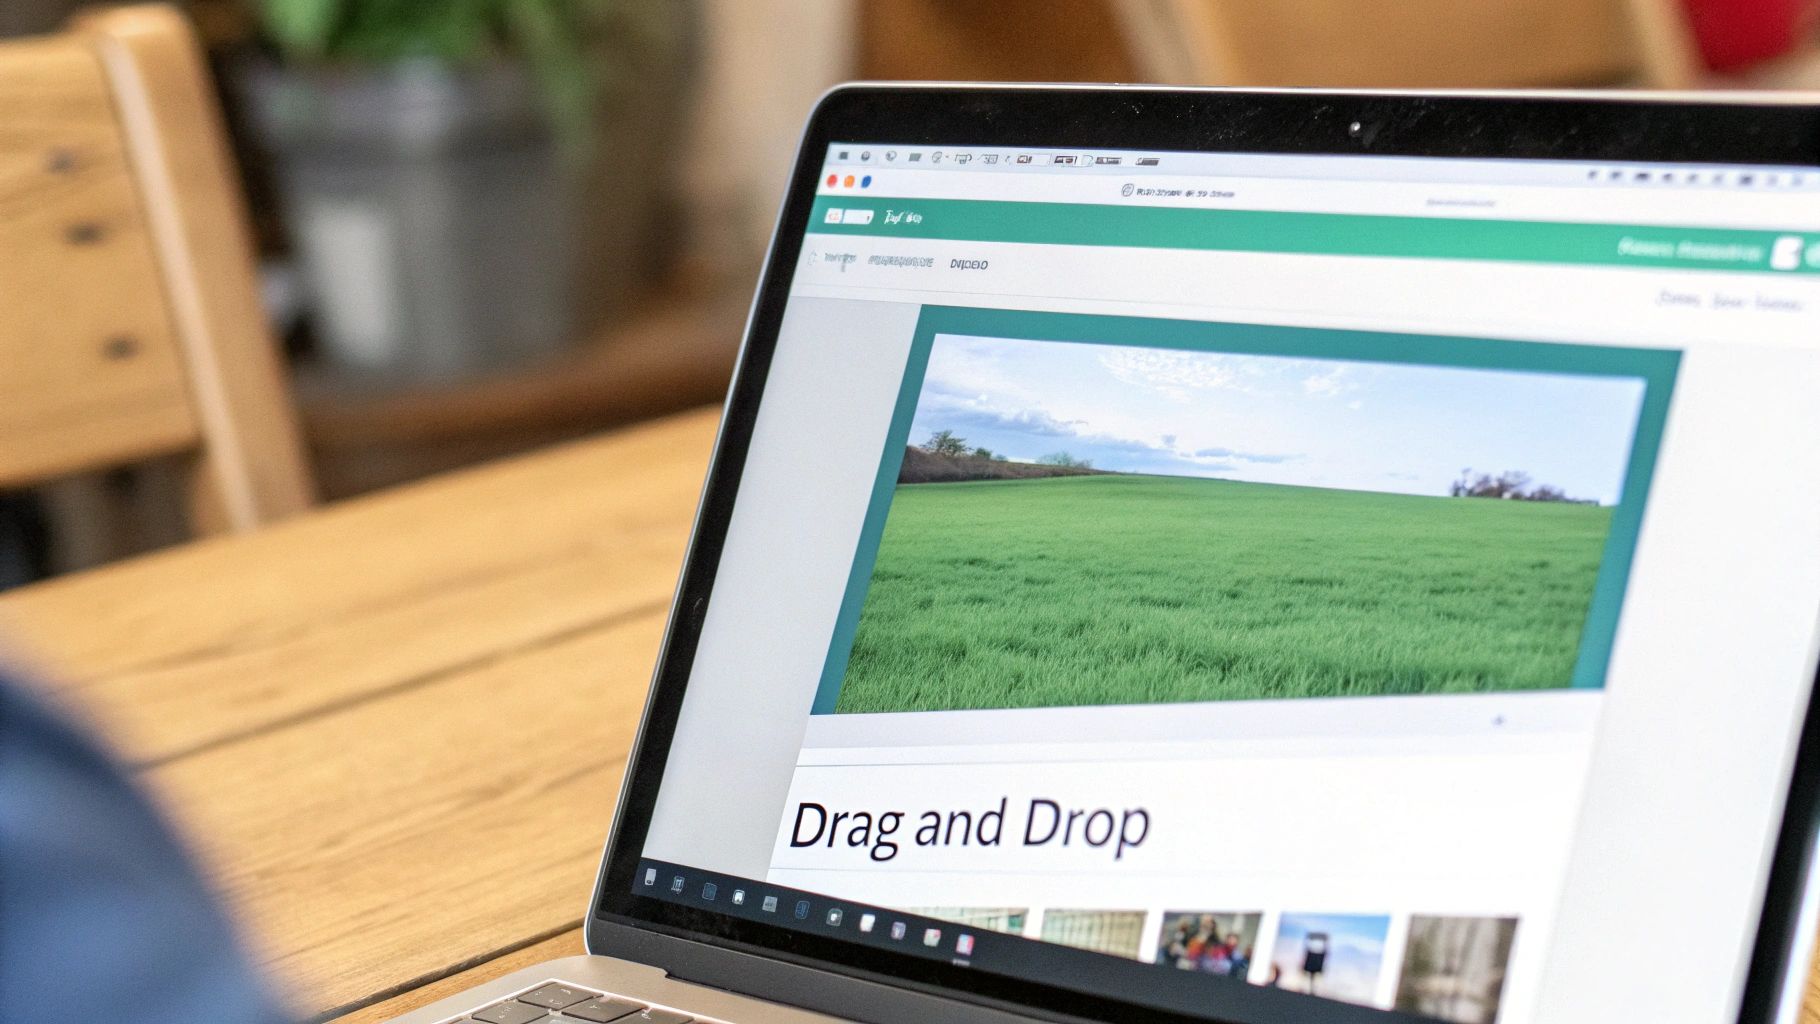
You can click the "Select Image Files" button, which pops open your computer's file explorer. From there, just navigate to the folder with your pictures. If you're building a document with multiple pages, hold down the Ctrl key (or Cmd on a Mac) to select all the files at once.
Or, for a faster route, try the drag-and-drop method. Just open the folder containing your images, highlight the ones you need, and pull them straight into the converter's browser window. I find this especially handy for grabbing a handful of files off my desktop in a hurry.
This works for all the common formats you're likely to encounter:
- JPG/JPEG: The standard format for pretty much all digital photos.
- PNG: Perfect for graphics, especially those with transparent backgrounds. If you’re dealing with a lot of these, check out this detailed guide on how to convert PNG to PDF for the best results.
- HEIC: The default photo format on newer iPhones.
- WEBP: A modern, efficient format used all over the web.
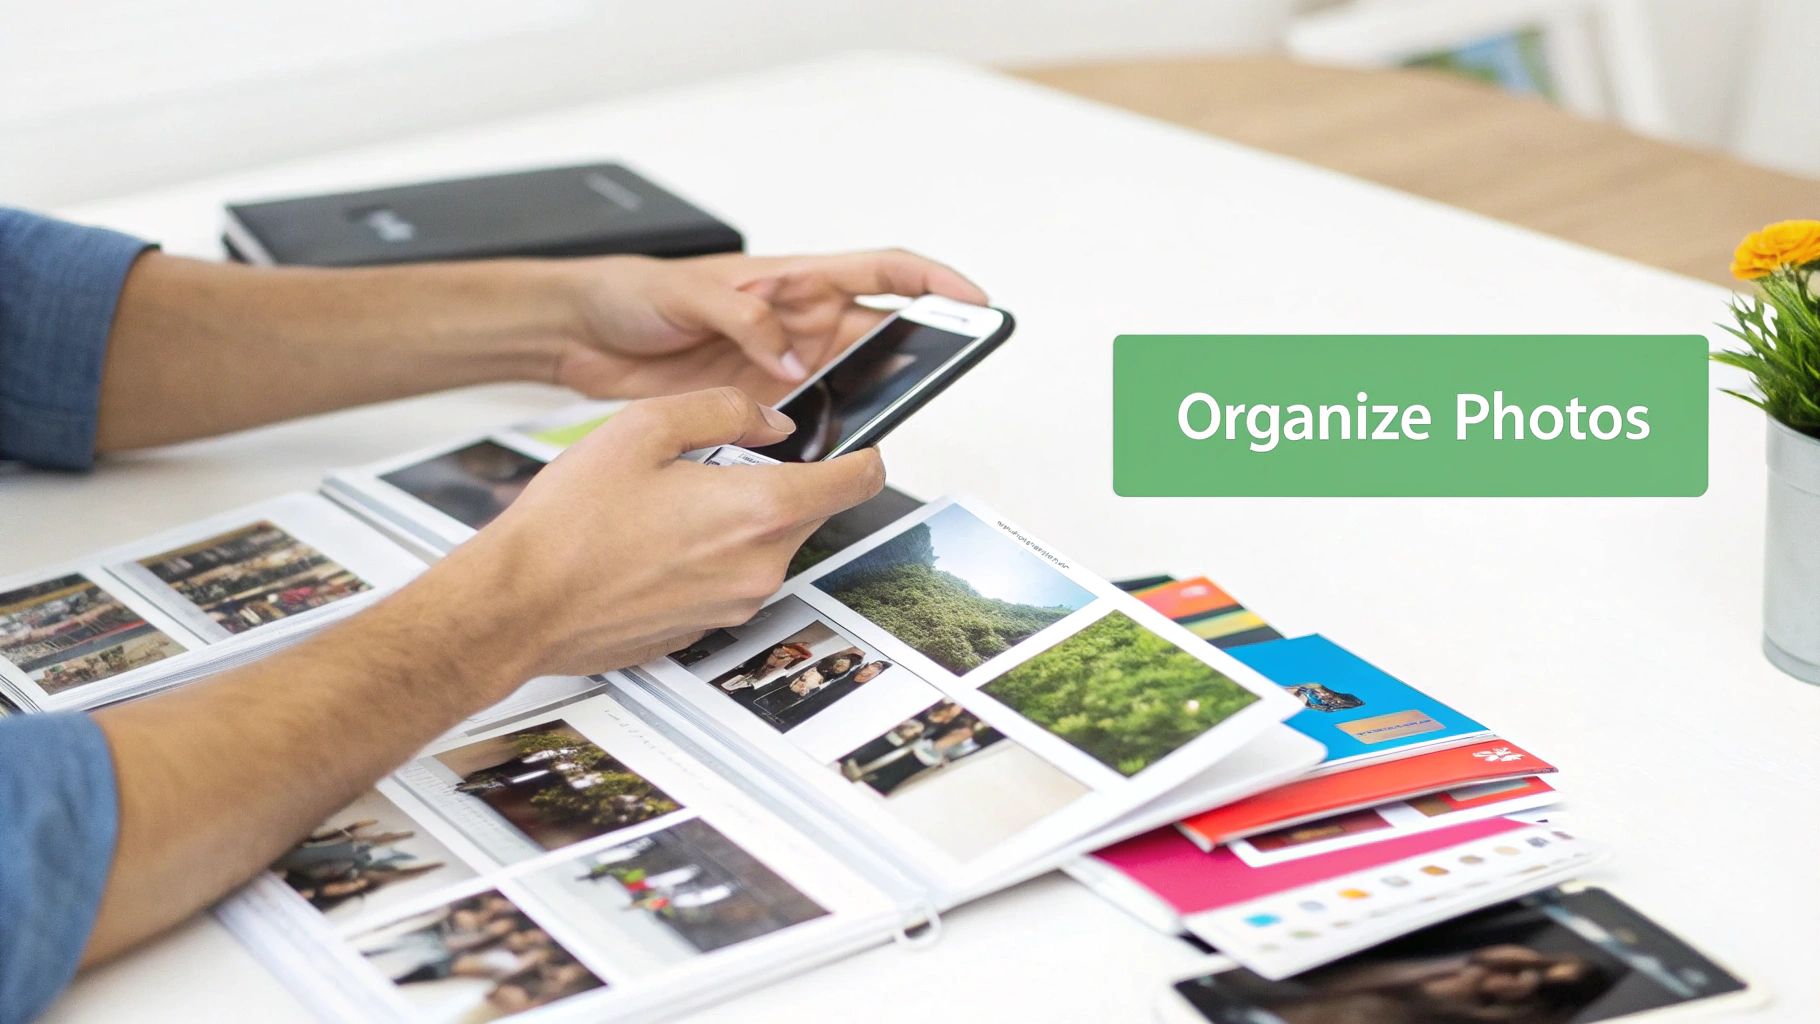
Arranging and Customizing Your PDF
Once your images are uploaded, you'll see them appear as little thumbnails. This is your command center—the place where you decide how the final document will look. If you’ve ever reordered slides in a PowerPoint presentation, this will feel immediately familiar.
Just click and drag the image thumbnails to shuffle them into the right sequence. The first image in the line becomes page one of your PDF, the second becomes page two, and so on. This visual control is a massive advantage over just emailing a folder of pictures, since you get to dictate the viewing experience from start to finish.
Before you hit that convert button, take a look around for any output quality options. Many tools offer presets that help you strike the right balance between sharp image clarity and a small final file size. For a more detailed look at this process, some sites offer dedicated guides on converting images to PDF that can provide extra context.
Pro Tip: Always, always double-check the order of your images before converting. It’s far easier to drag a thumbnail around now than it is to try and edit the PDF later. Getting the sequence right at this stage is a huge time-saver.
Finishing Up and Grabbing Your File
With your images uploaded and arranged perfectly, all that's left is to create the PDF. You’ll see a big, obvious button, usually labeled something like "Convert" or "Create PDF." Give that a click.
The tool works its magic in just a few seconds, merging all your separate images into one clean, single document. As soon as it’s done, a download link will appear. Click it, and your new PDF will save to your computer's default downloads folder. That's it—you now have a professional, easy-to-share document ready to go.
Pro Tips for a Perfect PDF Every Time
Anyone can drag and drop a file and click "convert," but the real magic happens when you know a few insider tricks. Making a couple of small adjustments before you convert can dramatically improve the final PDF’s quality, file size, and overall polish. It’s the difference between an amateur-looking document and a professional one.
Let’s get into the simple techniques that will save you time and make sure your PDF looks exactly how you want it to.
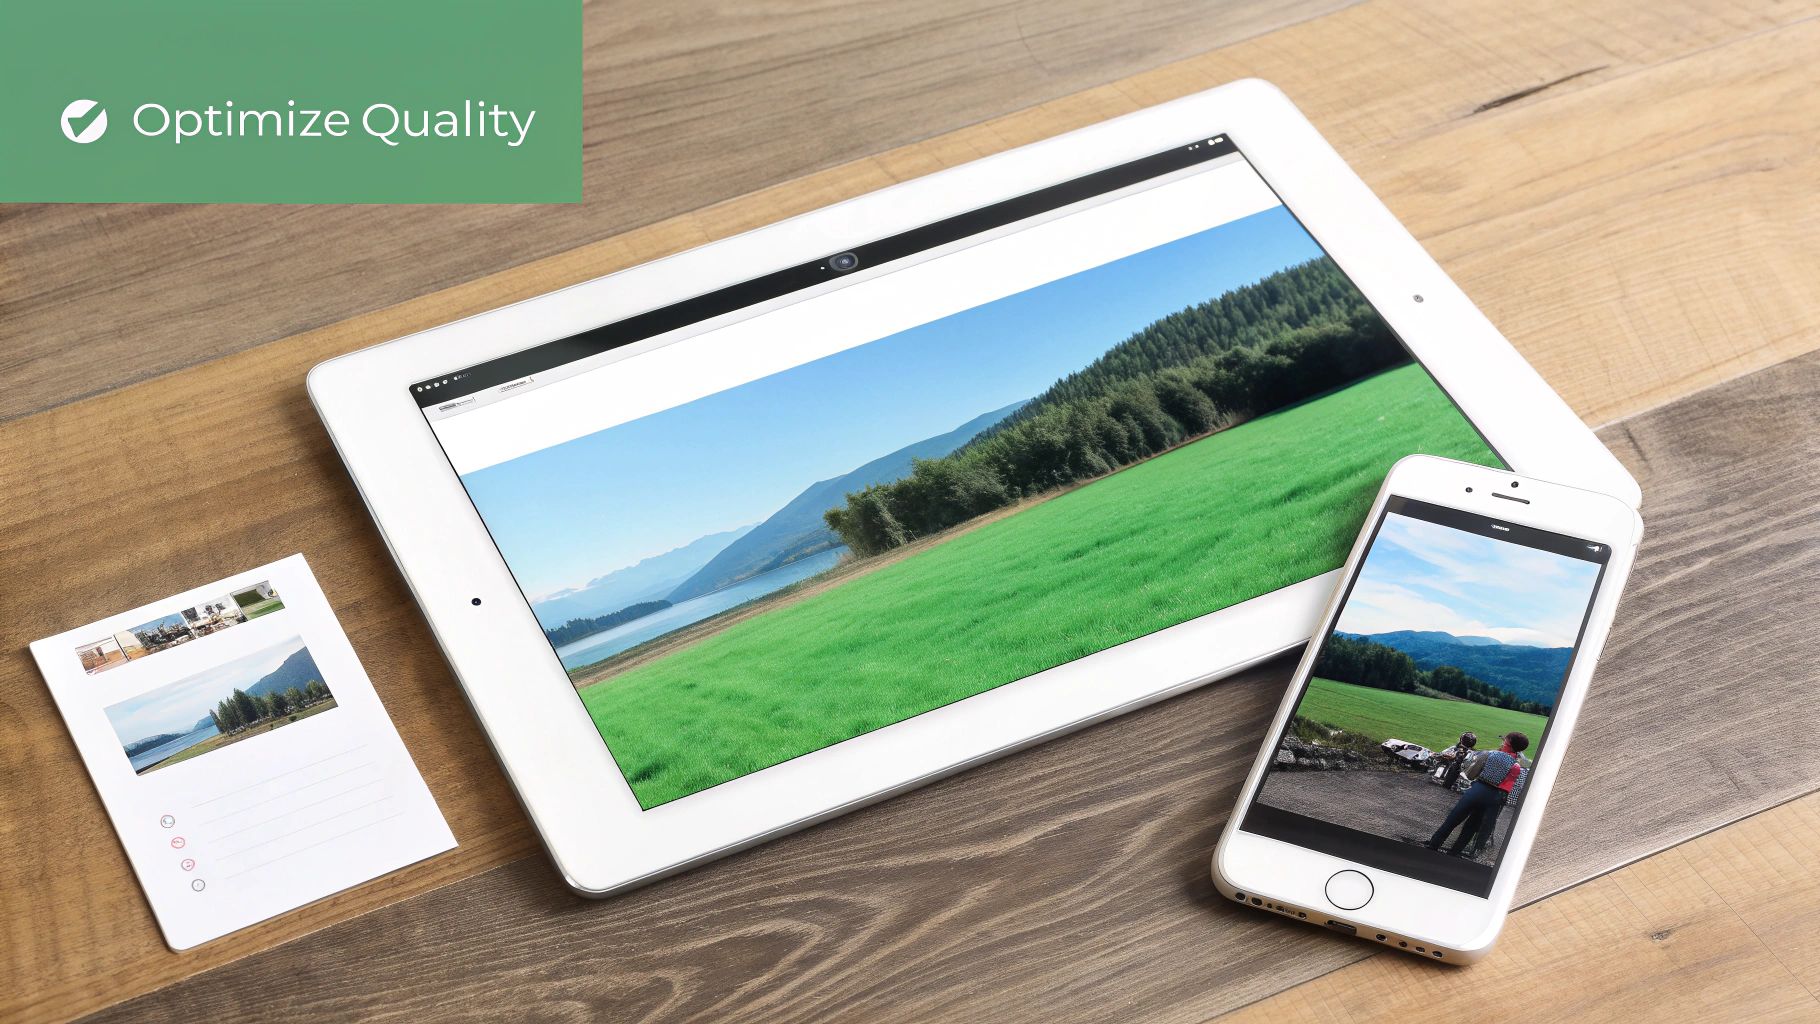
The single most important rule? Start with a good source image. A blurry, low-resolution photo will only ever become a blurry, low-resolution PDF. You can’t create detail that wasn’t there to begin with, so always use the sharpest, clearest images you have.
It's also a good idea to resize oversized images before you even upload them. You can find plenty of free image resizer tools online that do the job quickly. Pre-sizing your images prevents slow uploads and keeps your final PDF from becoming unnecessarily massive.
Fine-Tuning Your Output Settings
Most online converters aren't just one-size-fits-all; they offer settings to control the final output. This is where you can really tailor the PDF to its purpose. Ask yourself: is this going to be an email attachment, or is it headed for a high-quality printer? The answer changes everything.
- High Compression: This is your go-to for the smallest possible file size. It’s perfect for emailing, sharing online, or when you’re tight on storage space. You might lose a tiny bit of image clarity, but it's usually unnoticeable on a screen.
- Low Compression (or High Quality): Choose this when every pixel counts. This setting preserves maximum detail, making it ideal for printing photos, portfolios, or any document where sharpness is non-negotiable. Just be prepared for a much larger file.
Many tools also let you tweak the page orientation (portrait vs. landscape) and margins. Adding a small margin is a pro move—it stops your images from hitting the very edge of the page, giving the document a cleaner, more professional look. And if you find yourself constantly battling huge files, our guide on how to compress a PDF has more advanced tips.
Choosing the Right PDF Quality Setting
This table breaks down the common quality presets you'll find in online converters, so you can pick the perfect option every time.
| Preset Setting | Best For | Typical File Size | Visual Quality |
|---|---|---|---|
| High Compression | Emailing, web sharing, quick previews | Smallest | Good for screens, not for print |
| Recommended/Balanced | General use, reports, presentations | Medium | Great for both screen and basic printing |
| Low Compression/High Quality | Professional printing, portfolios, photos | Large | Excellent, preserves maximum detail |
Ultimately, the best setting depends entirely on what you plan to do with the PDF. For most everyday tasks, the "Recommended" option is a safe bet, but don't be afraid to use high quality when it matters.
Organizing Multi-Page Documents
When you convert image to pdf online free using multiple files, the page order is everything. A jumbled report or a portfolio with images out of sequence just looks sloppy. Before you hit that convert button, take a second to drag and drop your image thumbnails into the right order.
Think about it: you wouldn't want the signature page of a contract ending up in the middle. By arranging the files correctly during the upload stage, you ensure the final document reads exactly as it should, from beginning to end.
Your Pre-Conversion Checklist:
- Source Image Quality: Is it clear and high-resolution?
- Page Order: Are all images arranged in the correct sequence?
- Quality Setting: Have you chosen the right compression level for your needs (e.g., email vs. print)?
How to Safely Convert Files Online
Let's be honest, uploading personal photos or sensitive documents to a random website can feel a bit sketchy. When you convert an image to a PDF online for free, how can you be sure your files are safe? The good news is that trustworthy tools take your privacy seriously, and there are a few key things you can look for to make sure your data stays protected.
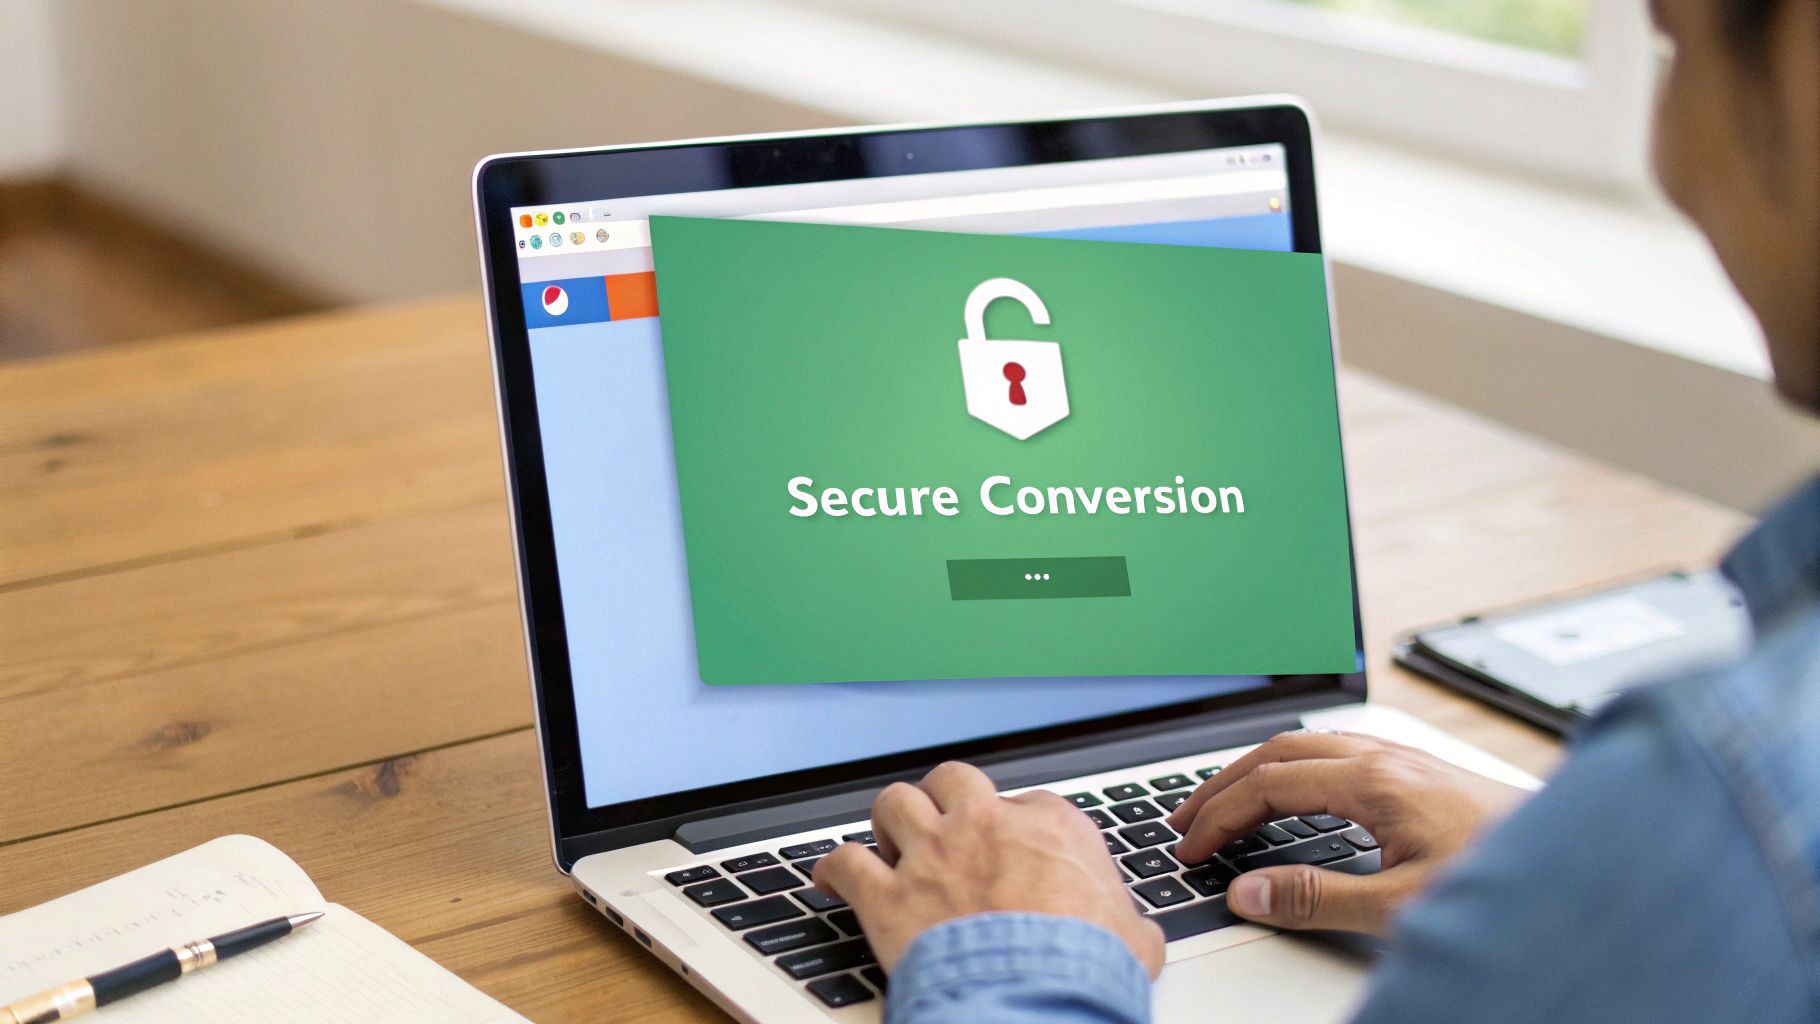
First thing's first: always look for HTTPS encryption. Before you upload anything, just glance at your browser's address bar. See that little padlock icon and a URL that starts with "https"? That's your confirmation that the connection is secure. It means your files are scrambled during transfer, making them gibberish to anyone who might try to intercept them.
What to Look for in a Privacy Policy
Beyond encryption, a reputable service will be upfront about how it handles your files. Always check for a clear privacy policy that tells you exactly what happens to your data. Vague language or—even worse—no policy at all is a huge red flag.
The most important feature to look for is a commitment to automatic file deletion. This is a deal-breaker. A secure tool will automatically and permanently wipe your uploaded images and the final PDFs from its servers after a short period, usually just a few hours. This ensures your private information isn't just sitting around on some server forever.
A good online converter doesn't need to hang onto your files. Its job is to do one thing—convert—and then clean up after itself. Automatic deletion is the clearest sign of a service that actually respects your privacy.
The Industry Standard for Security
Worries over data security have pushed the best platforms to adopt much stronger protections. Most top-tier services now use 256-bit SSL encryption and delete files within hours of processing. This has really become the baseline, especially since 42% of users name security as their top concern with online tools. The very best services even process files entirely in your browser, so your data never even has to touch a vulnerable server. You can learn more about these security standards and their importance.
If you’re working with particularly sensitive documents, you can add your own layer of protection. After you convert your images, check out our guide on how to make a PDF password protected. It’s a simple step that adds a powerful barrier, making sure only people with the password can open your file.
Fixing Common Image to PDF Conversion Problems
Even the best online tools can hiccup sometimes. When you're trying to quickly convert images to a PDF for free, the last thing you want is a cryptic error or a final document that just looks… off. The good news? Most of these headaches are minor and take just a few seconds to fix once you know what to look for.
Here’s your quick troubleshooting guide to solve the most common frustrations and get a perfect PDF every time.
Why Did My Image Upload Fail?
This is easily the most frequent issue. You drag your images over, and nothing happens, or you get an error message. Almost every time, it comes down to one of two things: file size or file format.
- File Size Limits: Many free online converters have a cap on how big each image can be. If you're trying to upload a massive, high-resolution photo straight from a professional camera, it might be too large. The fix is to resize the image first to get it under the platform's limit, which is often around 20-50 MB.
- Unsupported Format: While most tools are happy with JPG, PNG, and HEIC, you might hit a wall with less common formats like RAW files (think .CR2 or .NEF) or specialized graphic files. The simplest solution? Just convert the image to a universal format like JPG or PNG before you upload it to the PDF converter.
How to Fix a Blurry or Pixelated PDF
You did it—the conversion worked! But the final PDF looks fuzzy and unprofessional. This quality problem almost always traces back to one thing: the source image. An online tool can’t magically add detail that was never there.
The golden rule here is to start with a high-resolution image. If your original photo is small or blurry, the PDF will be, too. Always grab the largest, clearest version of the image you have. It's also worth checking the converter's settings. If you picked a "high compression" or "low quality" option to save space, try again with a "high quality" preset instead.
Key Takeaway: You can always make a high-quality image smaller, but you can never make a low-quality image clearer. A sharp source file is the single most important factor for a professional-looking PDF.
Correcting Pages That Are Out of Order
It’s an easy mistake to make. You upload a batch of files, convert them, and only then realize the pages are all jumbled up. This is one of the easiest problems to fix, but you have to catch it before you hit that final convert button.
Most online tools show you thumbnails of your uploaded images. Look for that preview area. You can usually just click and drag the thumbnails to rearrange them into the correct sequence. Taking a few seconds to double-check the order here will save you the massive headache of having to split and re-merge the PDF later. Think of it as proofreading your document's layout before you publish it.
Still Have Questions? We’ve Got Answers
Even when a tool is simple, a few questions always pop up. It’s completely normal. Think of this section as your quick-start guide to handling those last-minute uncertainties before you dive in.
Here are the most common things people ask about turning images into PDFs.
Can I Combine a Bunch of Images Into One PDF?
Yes, you absolutely can! In fact, that’s one of the main reasons people use these tools. You can drag and drop a whole folder of images at once.
Once they're uploaded, you'll see little previews of each picture. From there, just drag them into the order you want—perfect for creating a portfolio, compiling a report from screenshots, or bundling scanned receipts.
Does Turning an Image Into a PDF Ruin the Quality?
Not if you do it right. Good online converters give you control over the final quality.
- Choose a 'High Quality' or 'Print' setting, and the tool will preserve almost all the original detail. The file size will be bigger, but your images will stay crisp.
- Choose a 'Low Quality' or 'Web' setting, and you’ll get a much smaller file, but you might notice the image looks a bit softer.
The golden rule here? Always start with a high-resolution image. A converter can’t magically add detail that isn't there, so a sharp source photo is your best bet for a great-looking PDF.
Is It Safe to Upload My Photos to an Online Converter?
It is, but only if you use a trustworthy service. The first thing to check for is SSL/HTTPS encryption. Just look for the little lock icon in your browser's address bar. That means your files are protected on their way to the server.
The next critical step is to check the privacy policy. Reputable platforms like PDFPenguin automatically and permanently delete your files from their servers after a short period. If a site doesn't mention how they handle your data, it's best to find one that does.
What Kind of Images Can I Turn Into a PDF?
Most modern converters are incredibly flexible and can handle pretty much any image format you throw at them. You can be confident they'll work with all the common types, including:
- JPG and PNG: The everyday formats for photos and web graphics.
- GIF: Used for simple graphics and animations.
- HEIC: The default format for photos on modern iPhones.
- WEBP: A popular web format known for its small file sizes.
You'll find that almost any standard image file you have will convert without a problem.
Ready to create clean, professional PDFs from your images in just a few clicks? The PDFPenguin Image to PDF tool makes it fast, easy, and secure. Try it now and see how simple your document workflow can be.